VFX Apprentice Bootcamp
Documenting my learning and progress from the VFX Apprentice eight week bootcamp!
For the summer 2025 I attended the VFX Apprentice Bootcamp. This is an introductory course that covers 2D and 3D VFX. While I have some experience I wanted it has been two years since I’ve had a chance to dive into video game VFX. I wanted both a refresher and a bit more foundational knowledge. Just from the first few weeks I learned a lot of great techniques.
Week 0

The Adobe Animate lesson continued with refinement of the animation inspired by Alex Redfish’s stylization and line/fx work. I met him once during a one on one at my internship at Riot Games. We spoke about what to do with creative hobbies when you are a highly creative person. I recommended having a hobby that you refuse to monetize because everything you do when you are a skilled creative, someone will likely ask if you sell it. You have to have something for you. He really liked that idea. He talked about having a style rather than imitating others. Very different from my approach to creativity. You can see several cleanup versions below. I’m imitating the lesson but I don’t quite understand the action for this VFX.
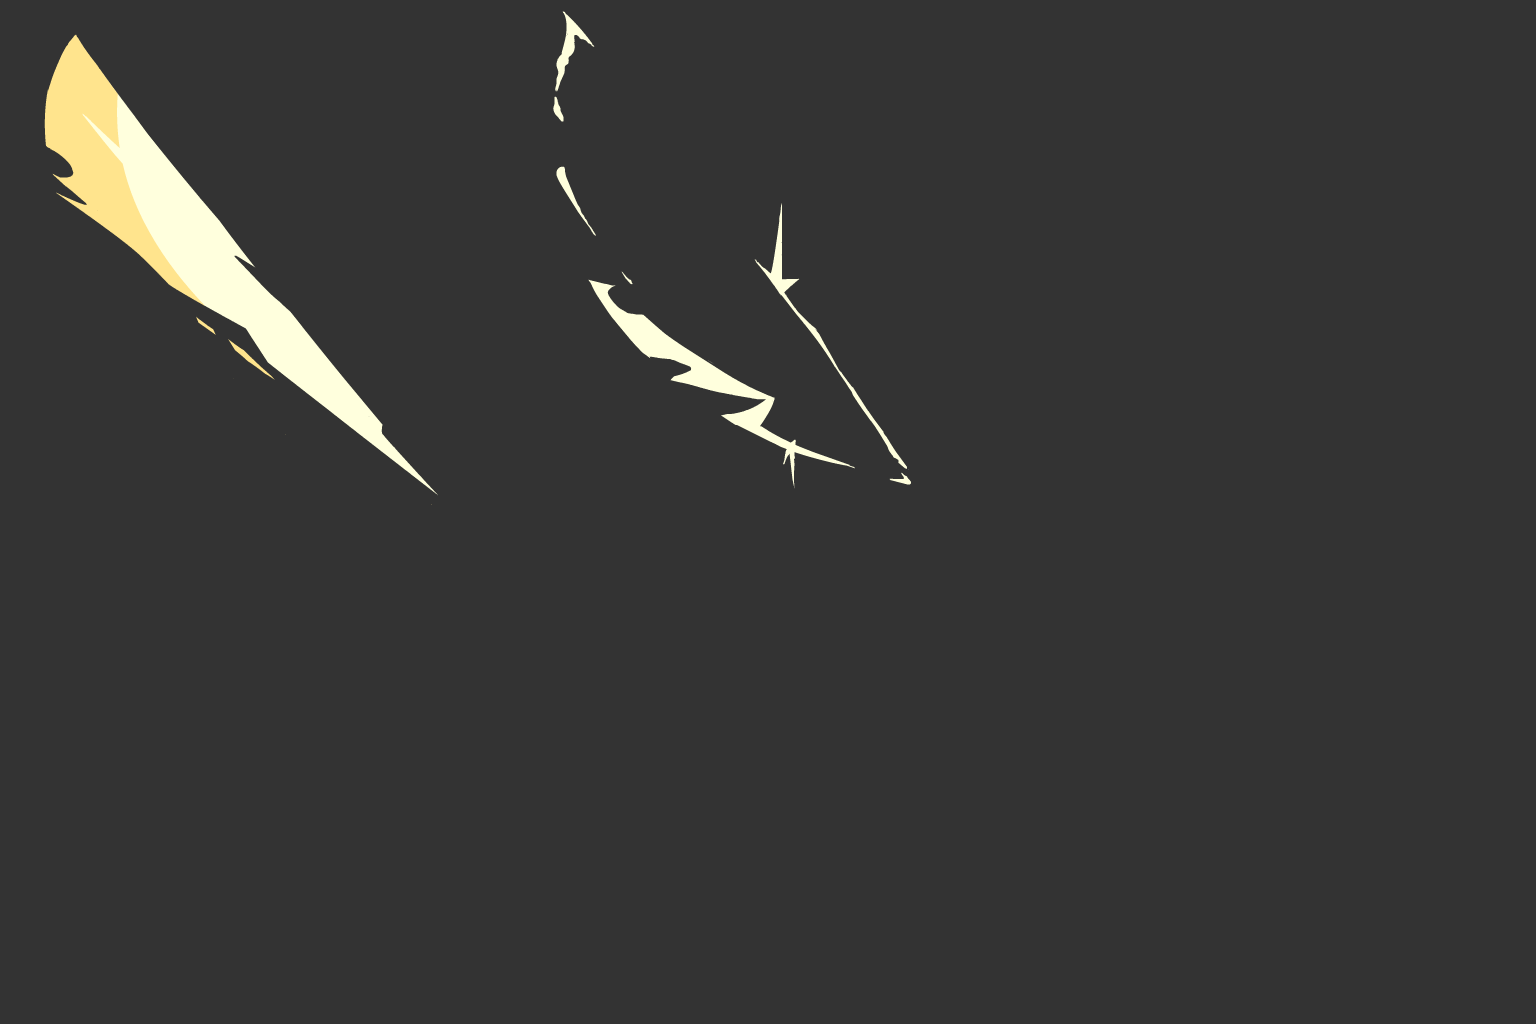
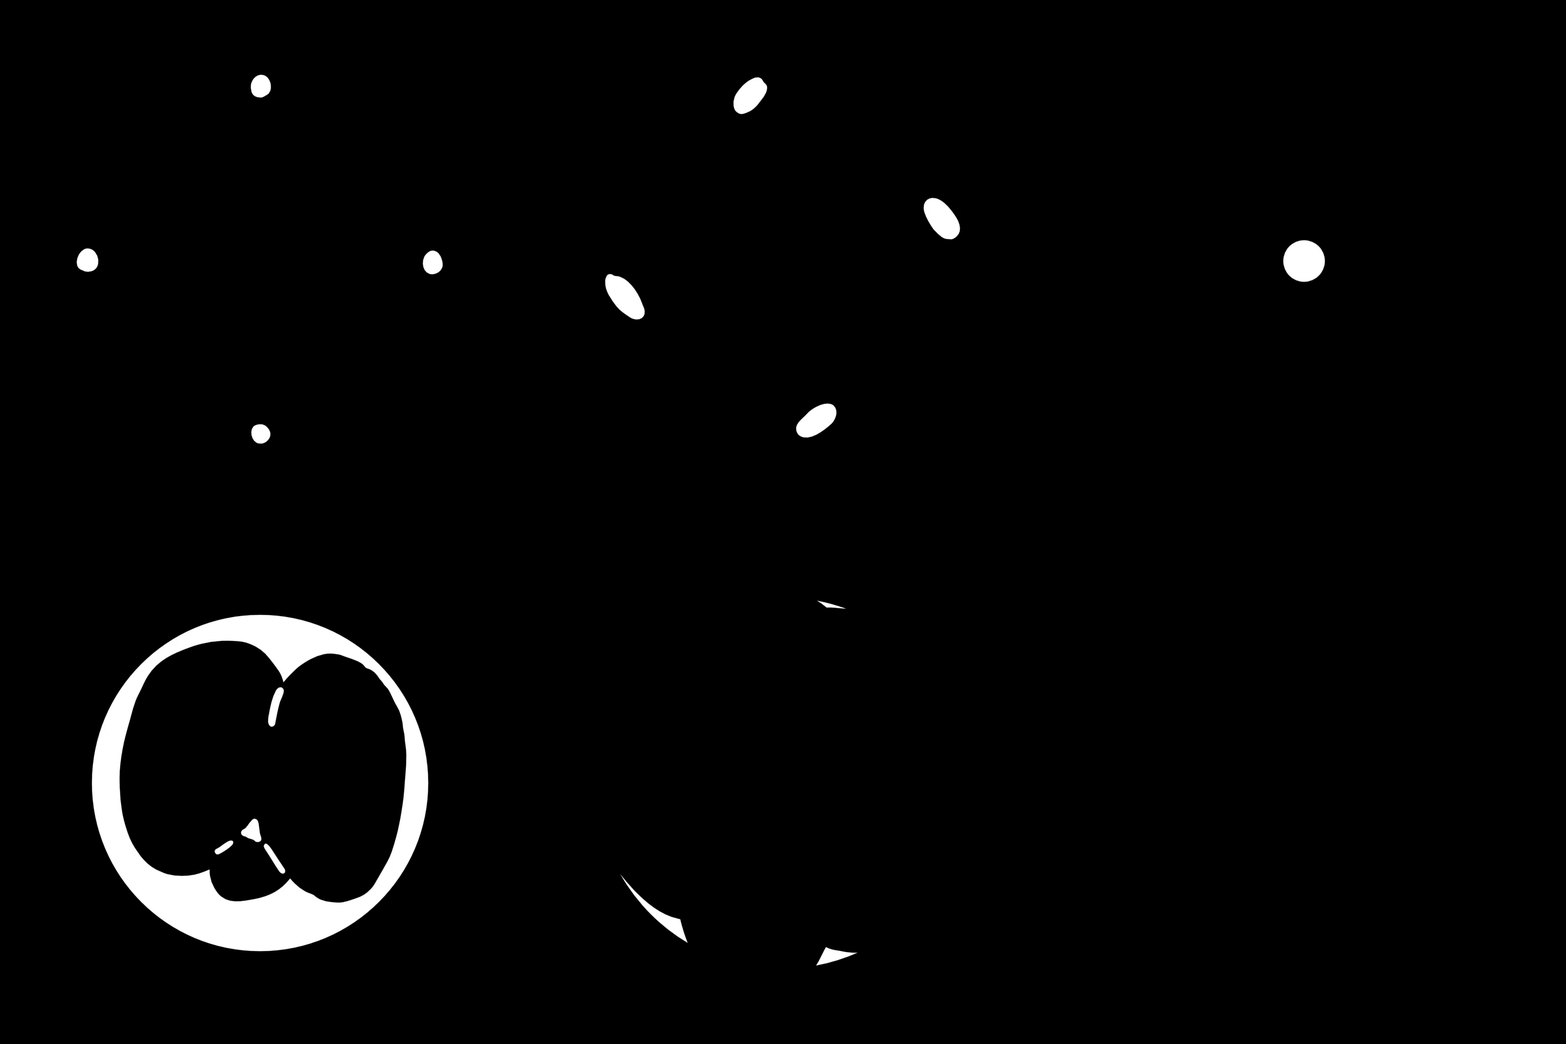
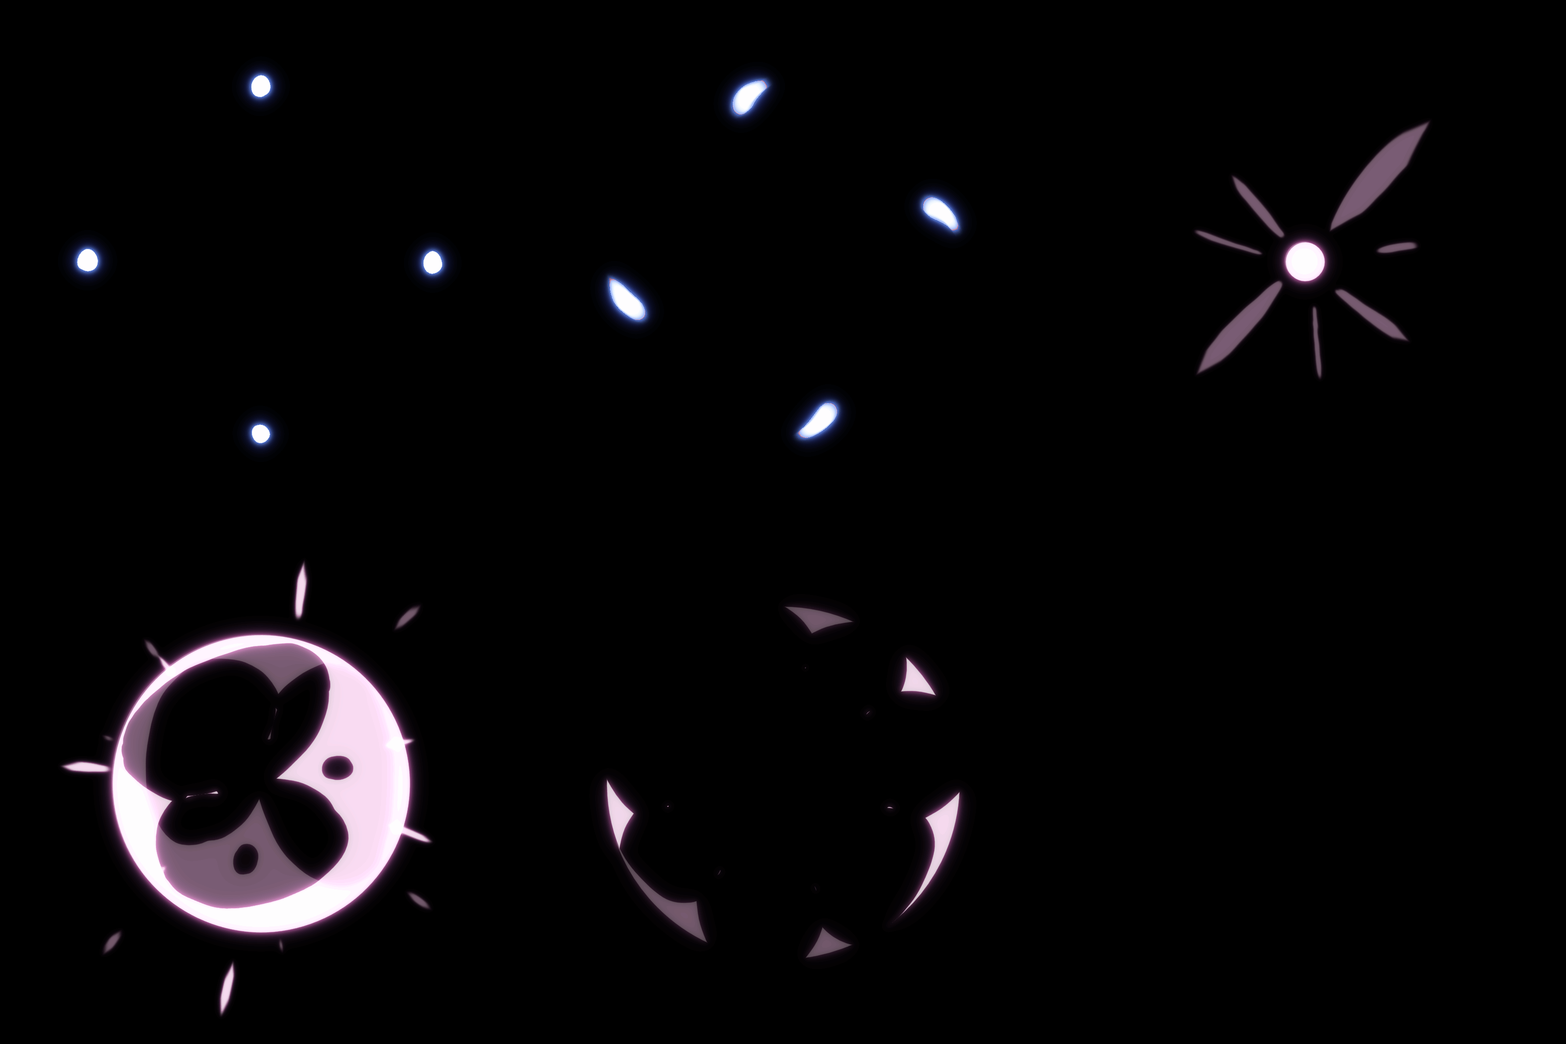
For Week Zero I progressed through their tutorials for 2D animation with Adobe Animate. The software seems fairly intuitive to pick up, but so far I’m not a huge fan of the drawn corrections the auto smoothing adds. Once I go through these tutorials I may give Toon Boom Harmony a trial when the course starts because the cost is a bit high.
Lesson 1: Start Animating! Followed along in Adobe Animate and created a similar drawing to the tutorial by Jason Keyser. The tutorial video is about 8 minutes but it took me an hour to create the animation below.
For Week Zero I also downloaded toon boom Harmony to try an alternative 2D software. I liked this software a lot more but it is much more expensive. I’m using the trial for now. Adobe Animate is Flash, which I learned many years ago. But the drawing requires a lot of erasing and redrawing lines because the vector cleanup algorithm is a little funky. Harmony is much faster and cleaner to just get in there an draw. The animation below just took a few minutes. I like the teaching style from Maginpanic. He teaches similarly to a number of professionals where you just dive in and draw and while it is a bit too fast for the beginner student it works well with a recording and you can go back and see what he did and if you know a bit about digital art software. The end result is a bit messier and the scale is less organized though. But if I apply knowledge of timing and other animation principles I can see how they were applied to this quick explosion. The order of operations to create things was also interesting. Creating the expanding circle and then erasing sections, or working a bit in reverse, helps to capture the primary animation speed and then add in the secondary elements once things have been established.
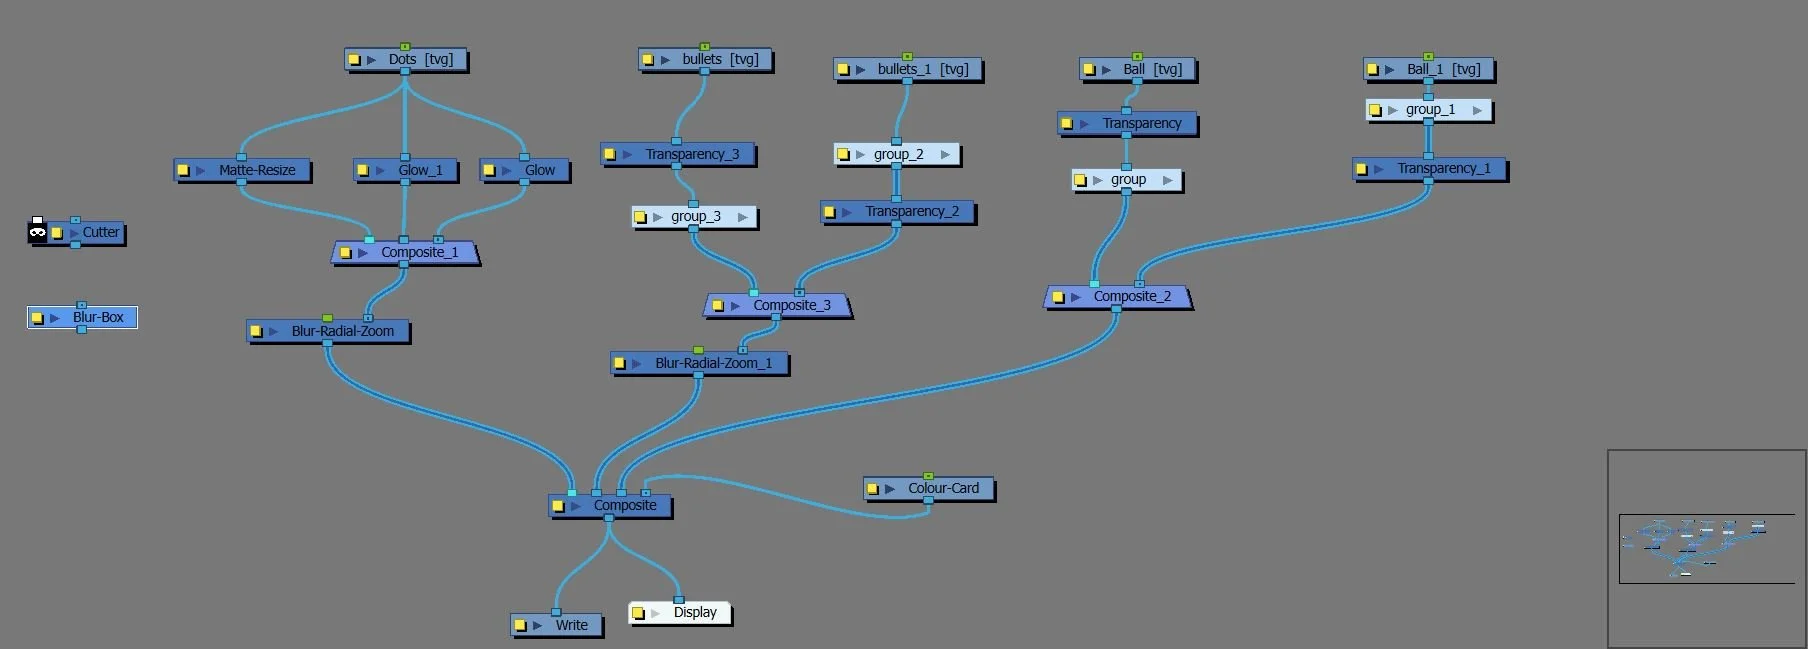
The Toon Boom Harmony compositing and cleanup video for the above VFX video was really wonderful. The final result looks great. For compositing, Harmony uses a node based system similar to Houdini/Nuke with a layering system that depends on your selection of prioritizing the left or right node strand, which is an interesting way to approach node layout. Houdini and Nuke have numbered strands so it doesn’t matter as much which physical location the node is placed. This method seems less intuitive but does cause more organization in the placement of nodes.
Week 1
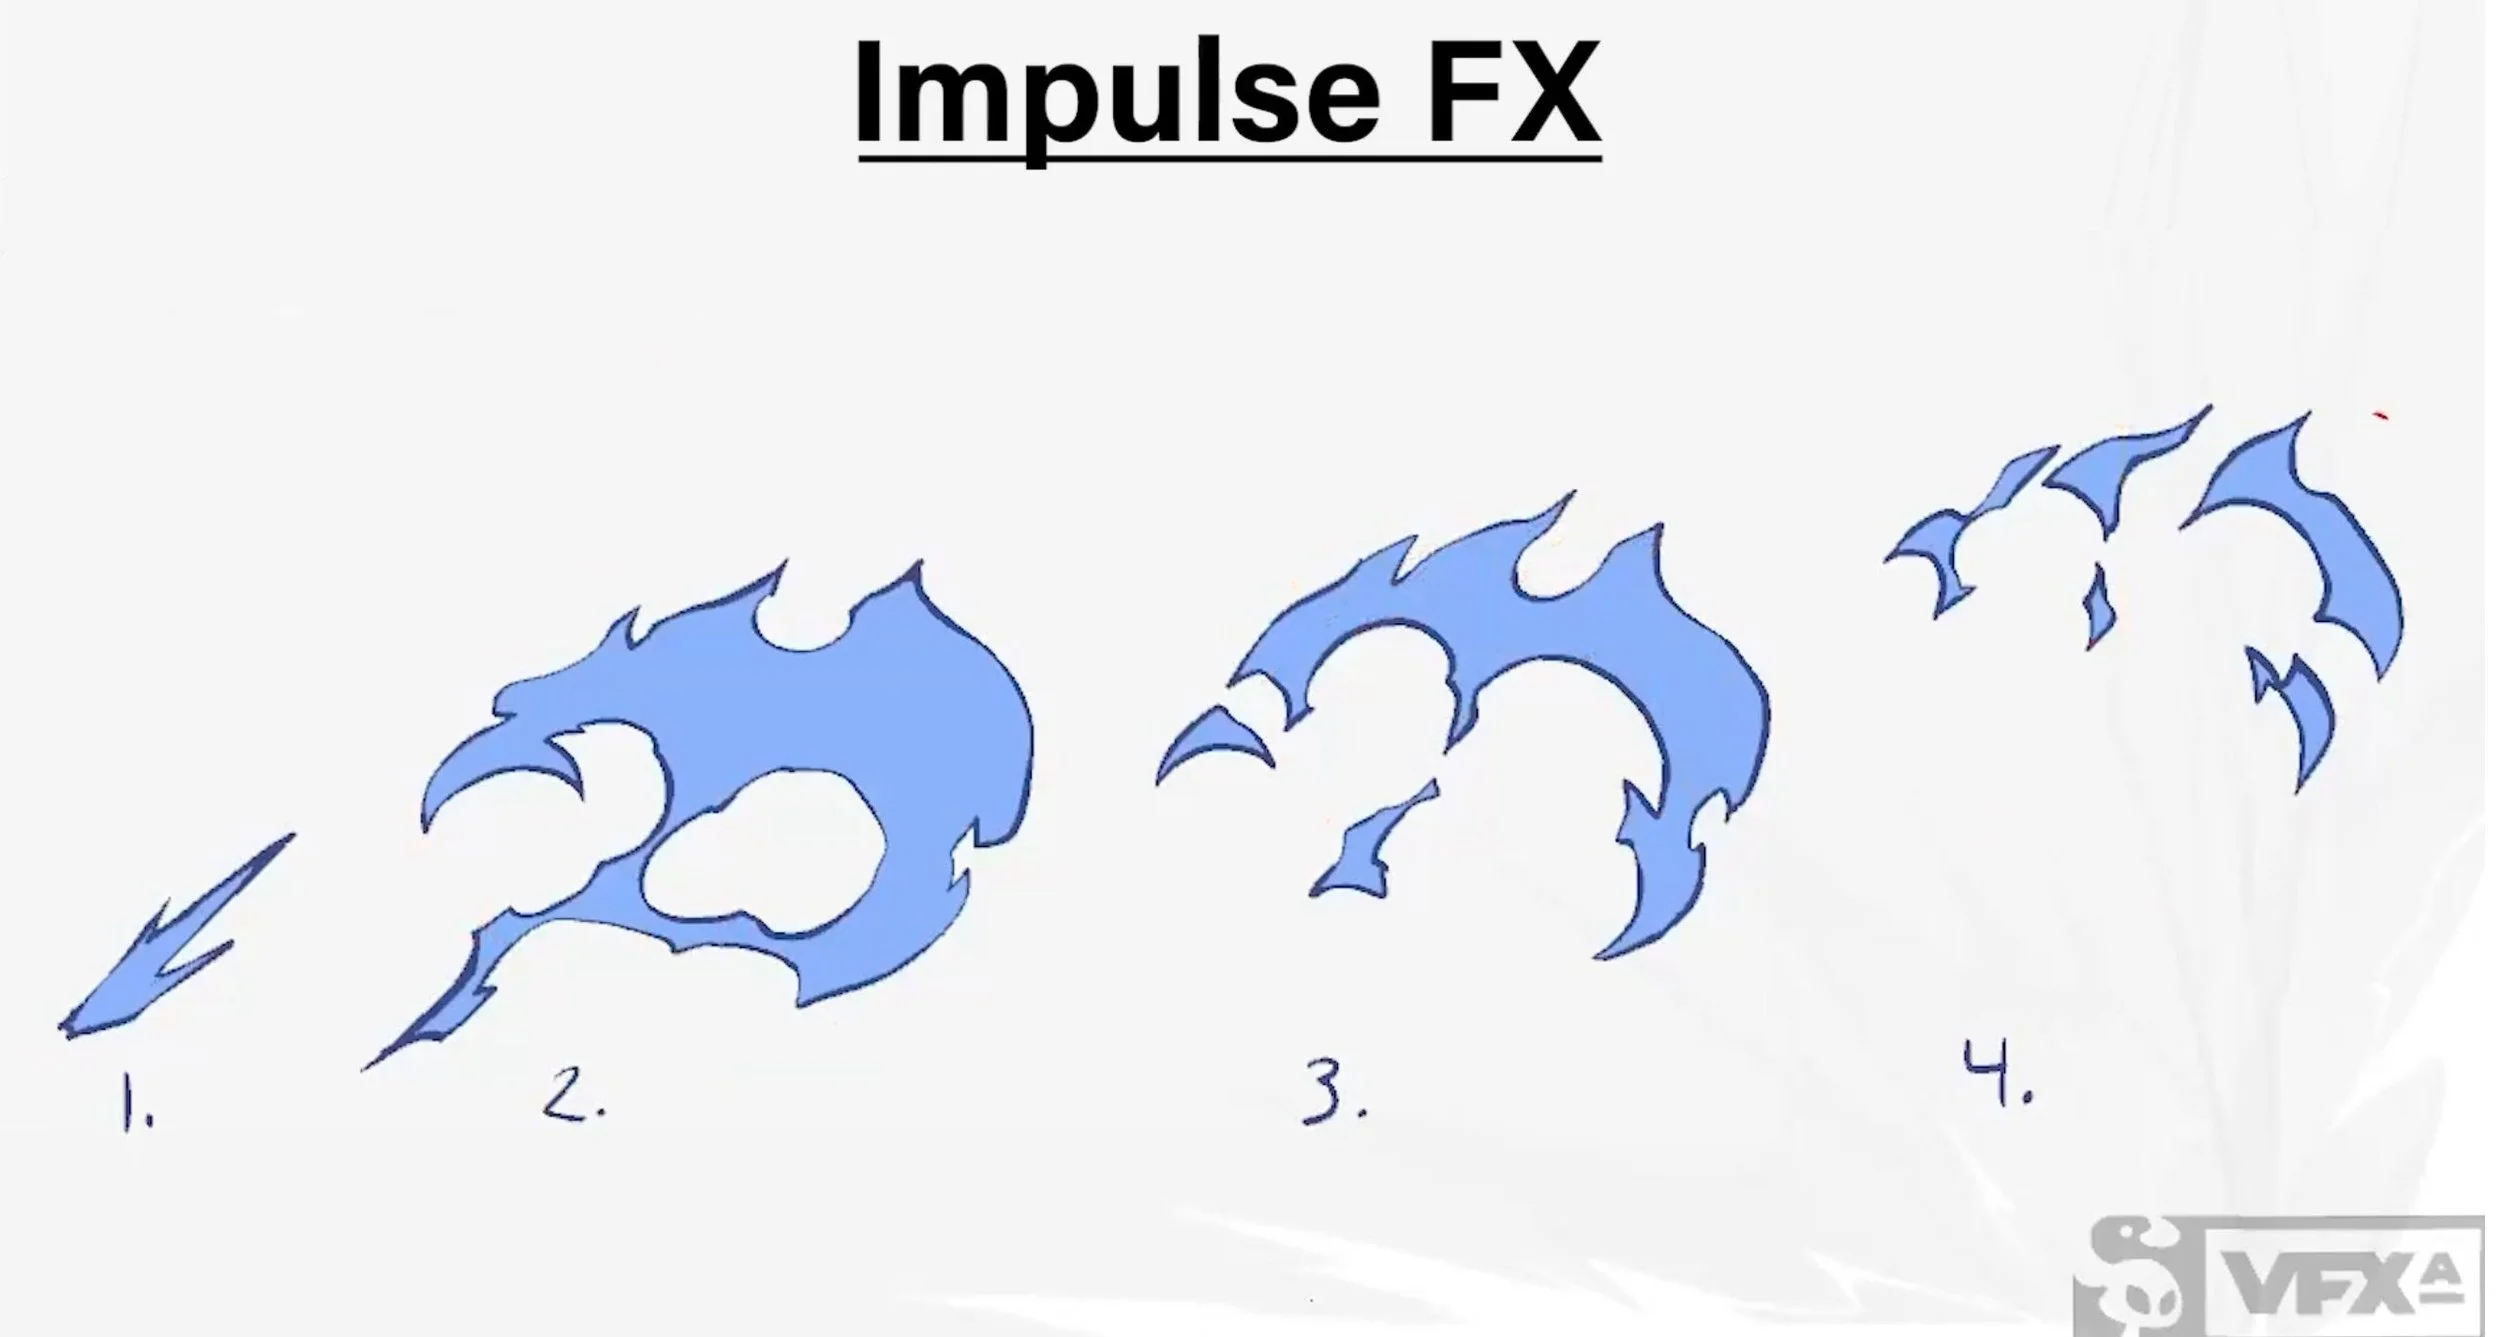
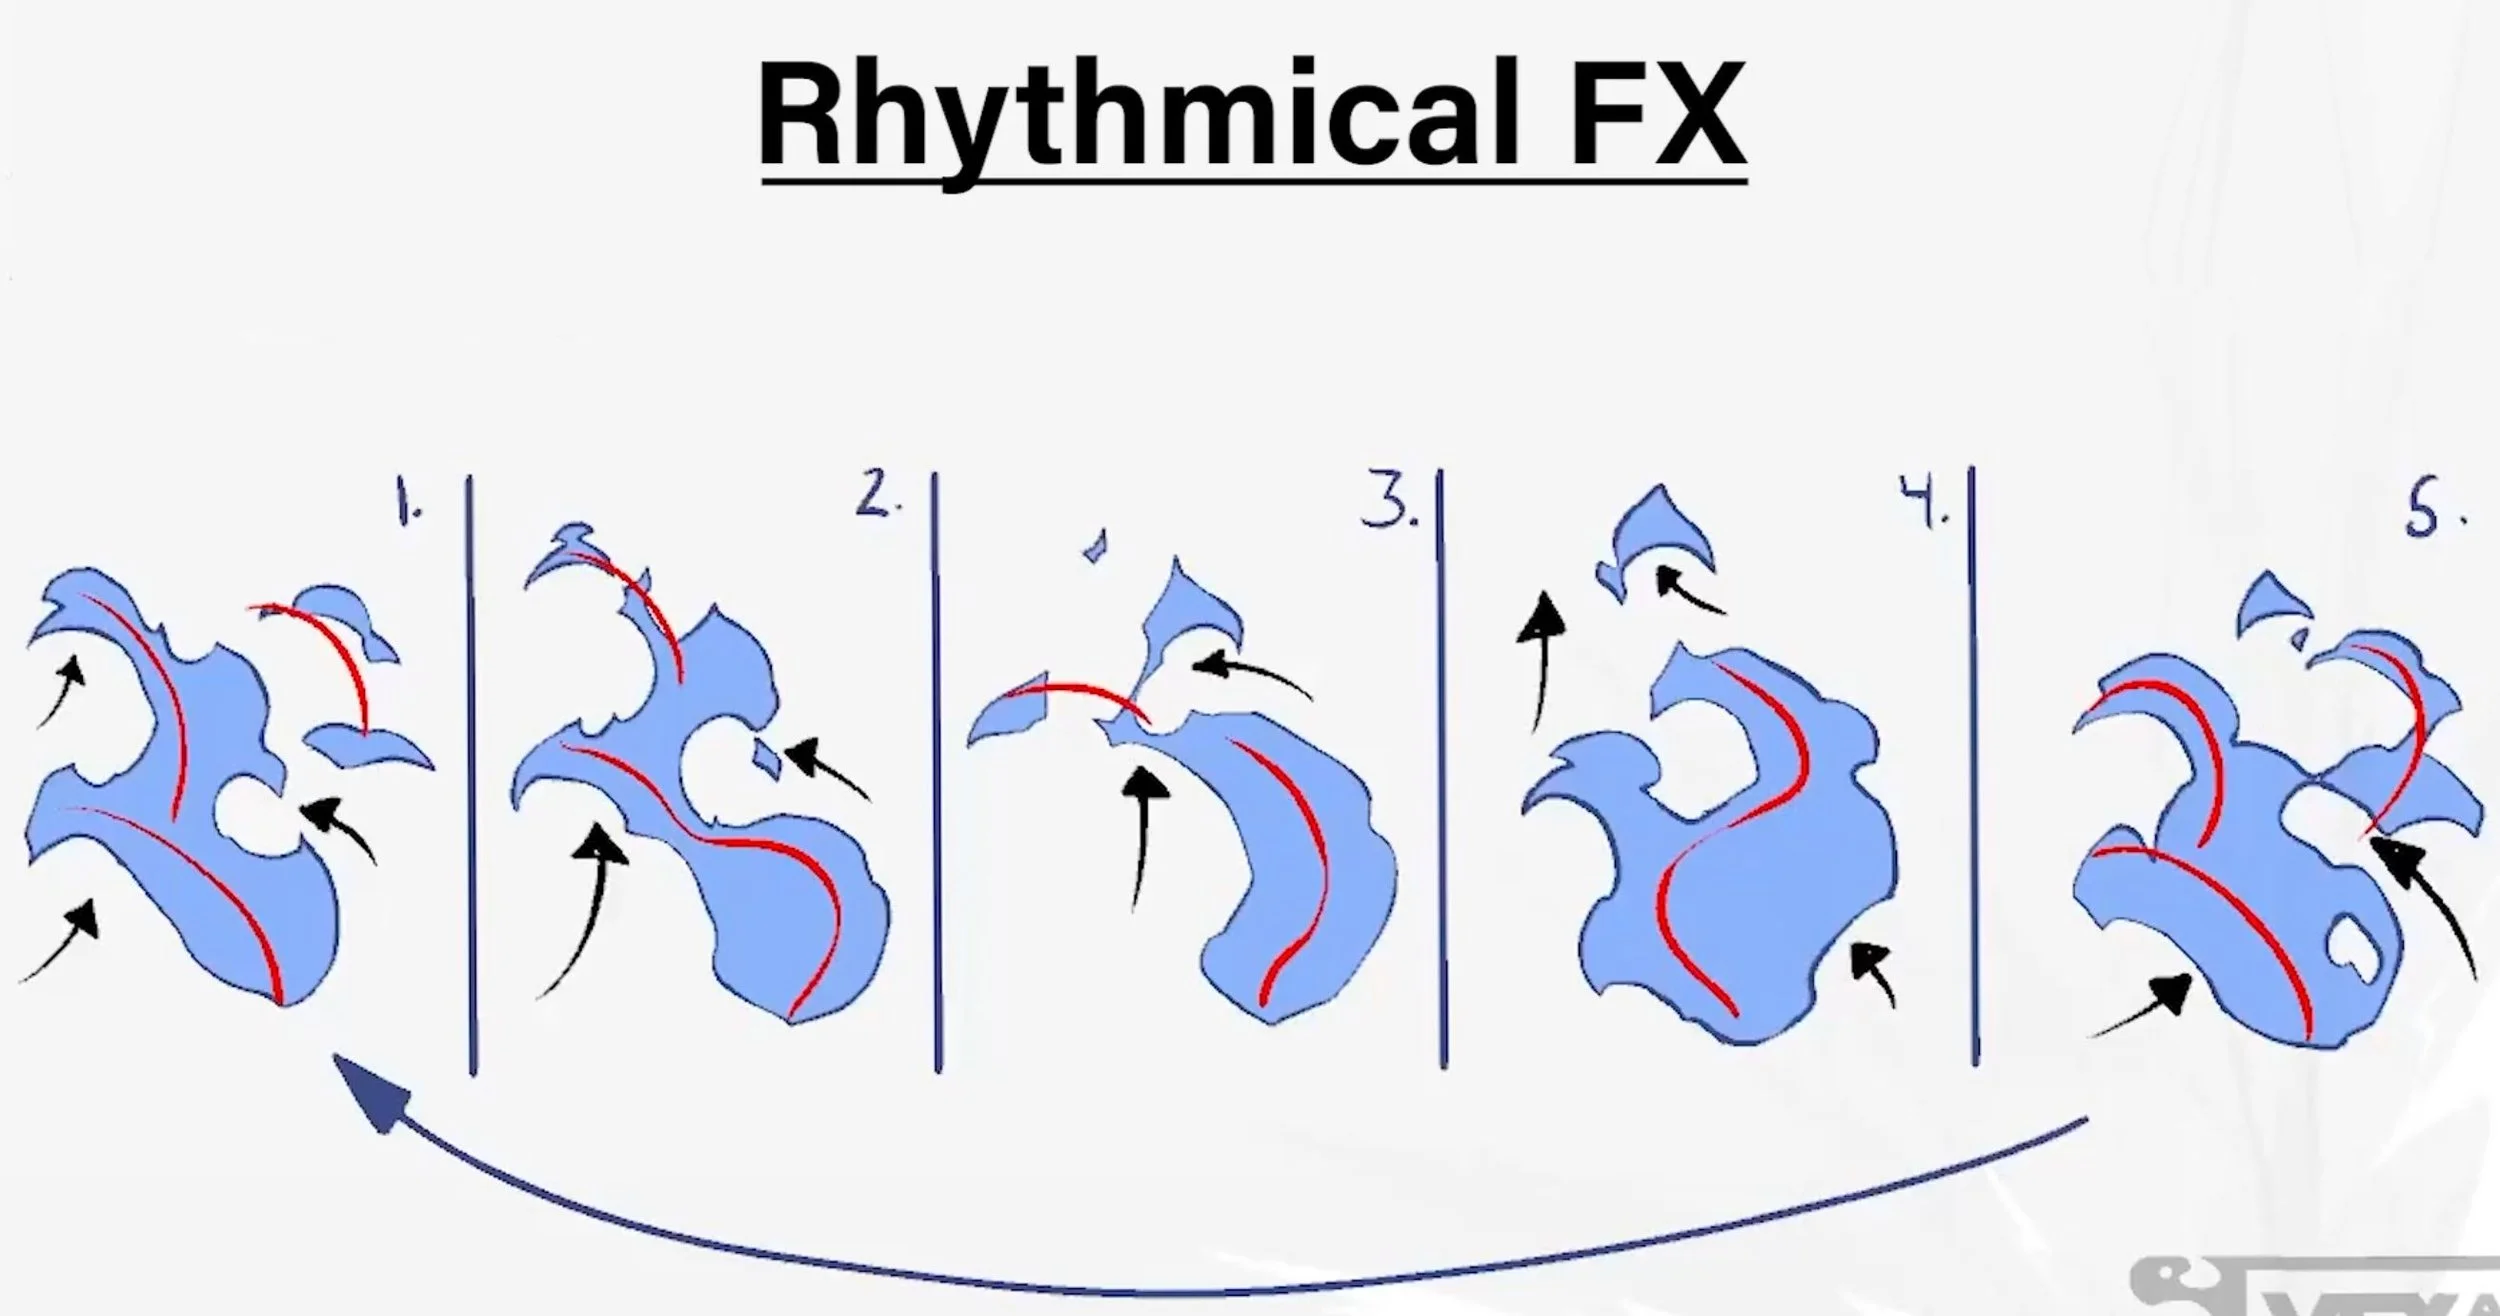
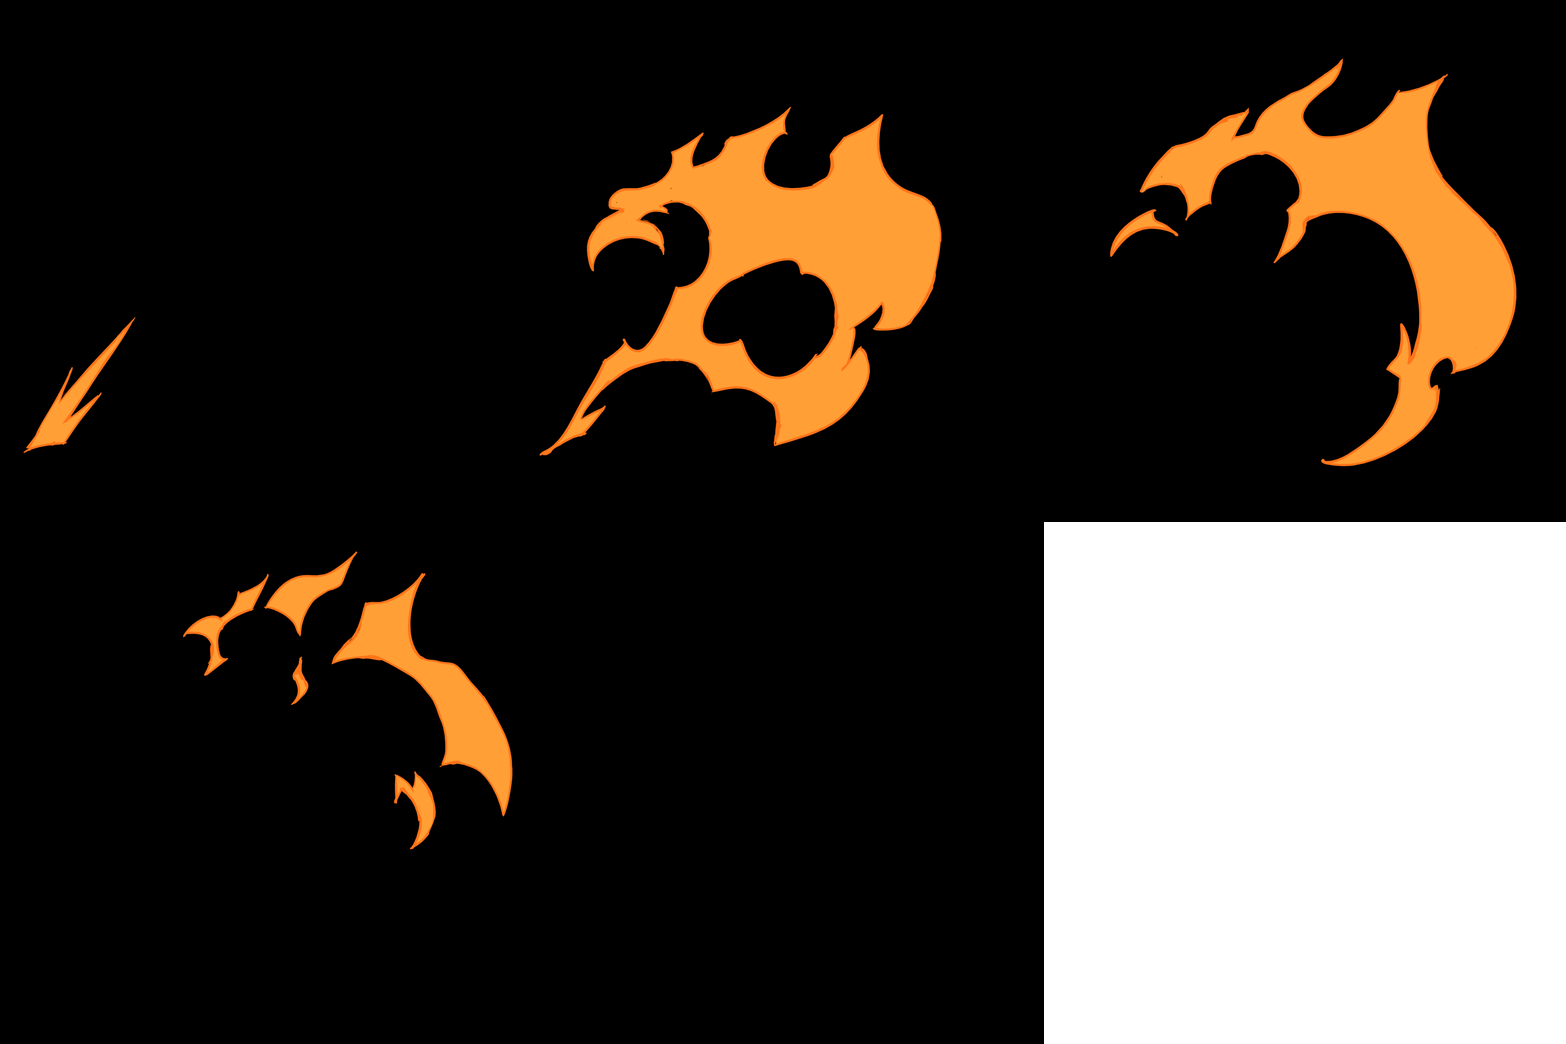
This week is about the principles of animation that most apply to VFX. The lessons started with timing, straight-ahead and key framing, anticipation, and ease in & out. I knew those terms from the 12 principles of animation. The newer terms were Impulse and Rhythm which talked about tempo. The lesson had two example images that I paused and took about a half hour to replicate in Harmony. Impulse worked well but I think I would need a few more frames for Rhythmical to fit just right in a seamless loop. This is probably related to the base of the fire being slightly off in placement but I was drawing from eye rather than tracing so I imagine some of the alignment is funky. Overall it works ok for a loop.



Appearance - Small to Big

Appearance - Pop Up
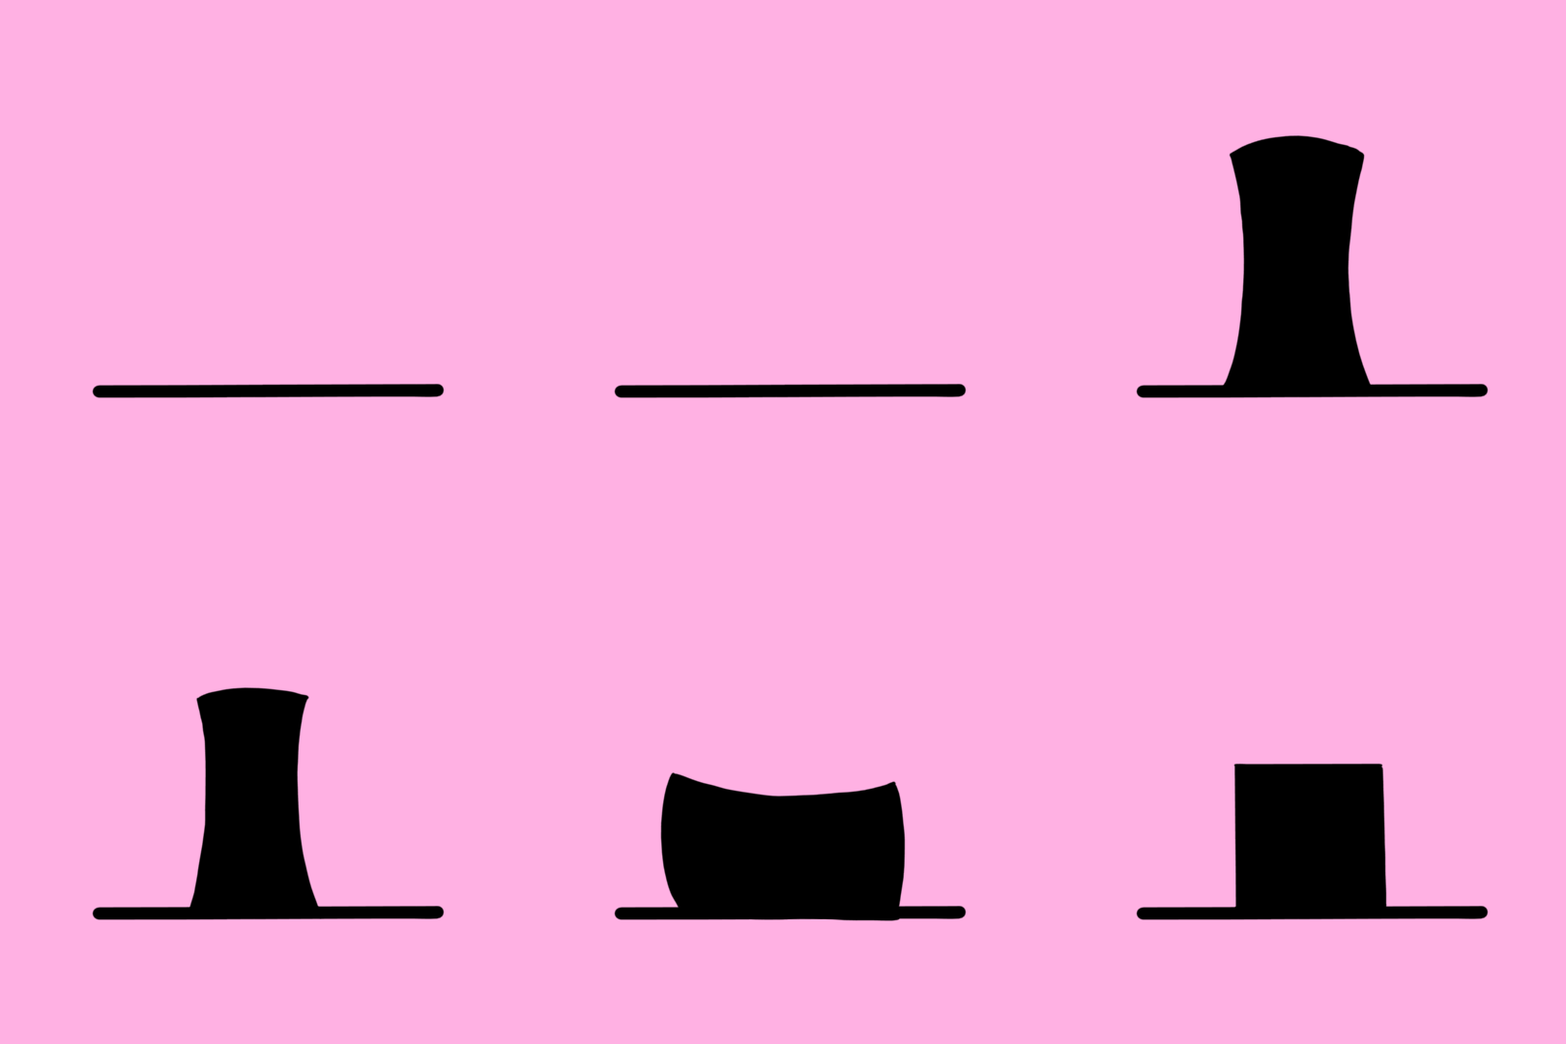
Appearance - Squash and Stretch

Appearance - Squash and Stretch
The homework for week 1 was to do a string warm up that was originally inspired by animator Ryan Woodward. I used Adobe Animate for these exercises. The goal is to move quickly and think fluidly. Don’t spend too much time and work on different animation principles. Experiment, get loose, and have fun. I don’t particularly enjoy these assignments but I did get a sense of the larger number of frames necessary to match the slower pacing and timing that I enjoy. I tried to rotate drawing from my head and drawing from reference.


Week 2
Week 2 is focusing on traditional drawing exercises. Warmups include linework practice and drawing from reference using pen and paper. We are also encouraged to draw 2D VFX as well. The goal is to draw everyday to improve drawing skills.
Day 1 I started off with a line and ellipse exercise where you draw straight or curved lines between dots and when the shape is closed fill it in with an ellipse touching each side. We also drew three objects from reference, following along with Sonya’s method of drawing base 3D shapes. I do not like drawing with this method but it is still helpful. I prefer triangulation and just eyeballing scale and size difference.

Day 2 I started with a line exercise then tried following along to a fire and lightning exercise from Sonya. I still need underdrawings to get the linework I prefer. I hope I can get to the point where I can draw directly from pen and still feel the flow of the shape, but this may not be possible with FX.
Day 3 I am starting to see improvement in the drawings. I spent this day looking at reference of 2D FX and copying the rock and fire flower from Sonya.
Disappearance - Breaking Into Pieces 1
Disappearance - Going to Small 1
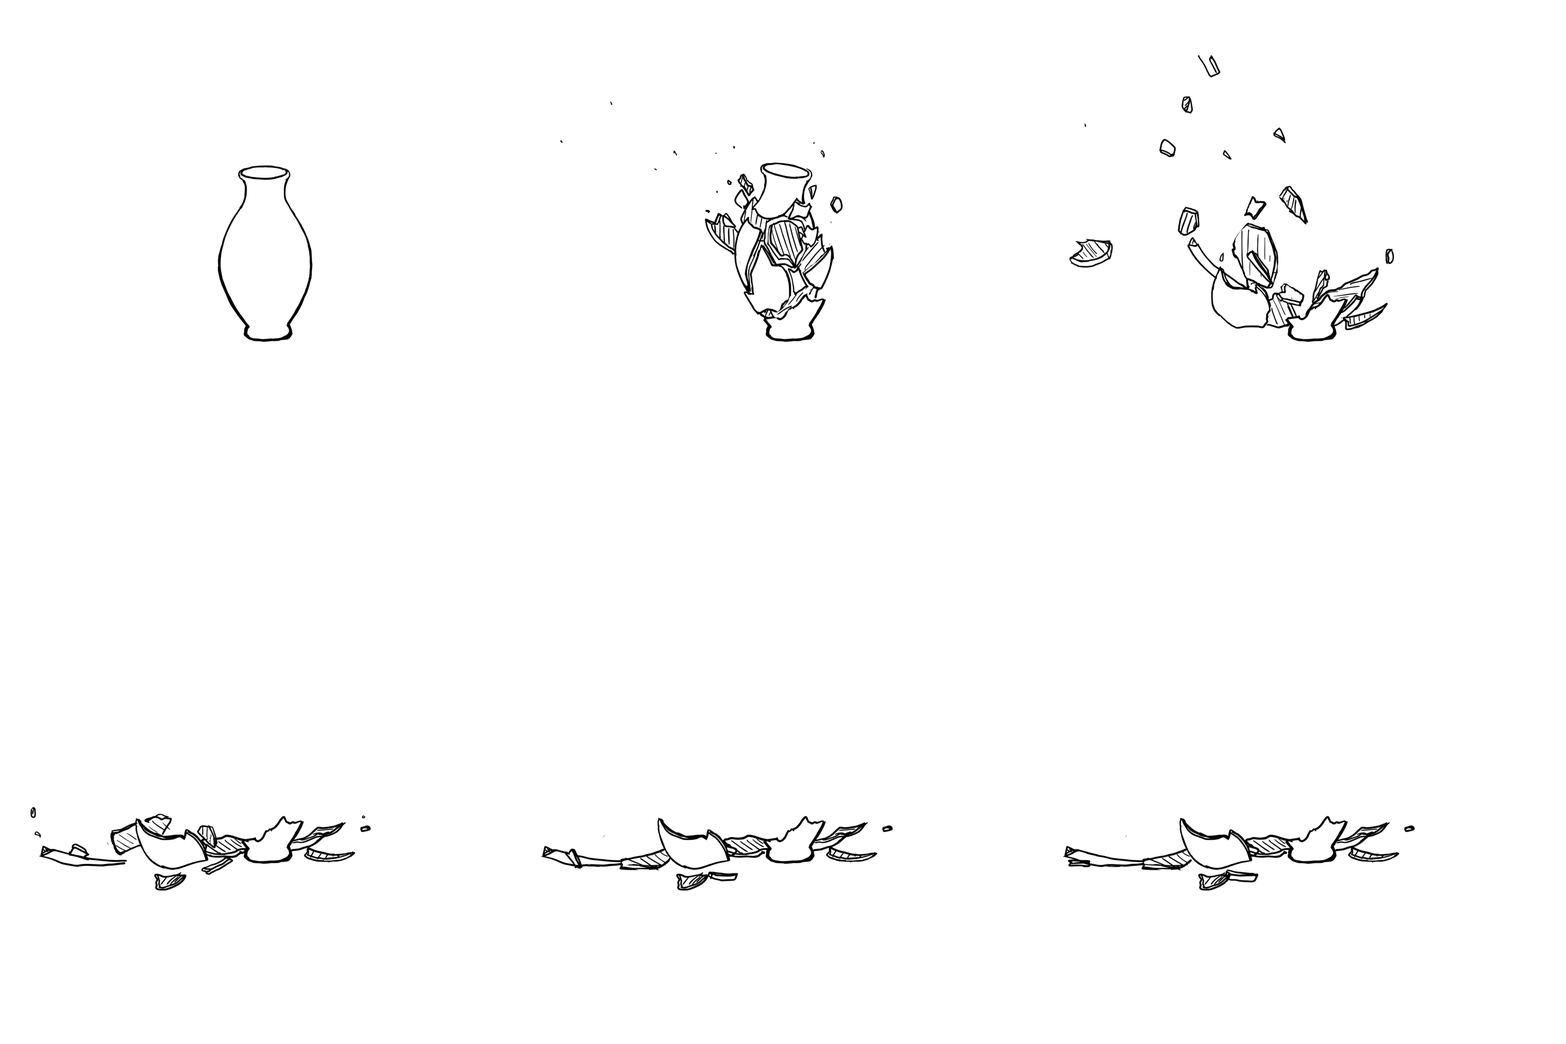
Vase Break
Disappearance - Carving Out
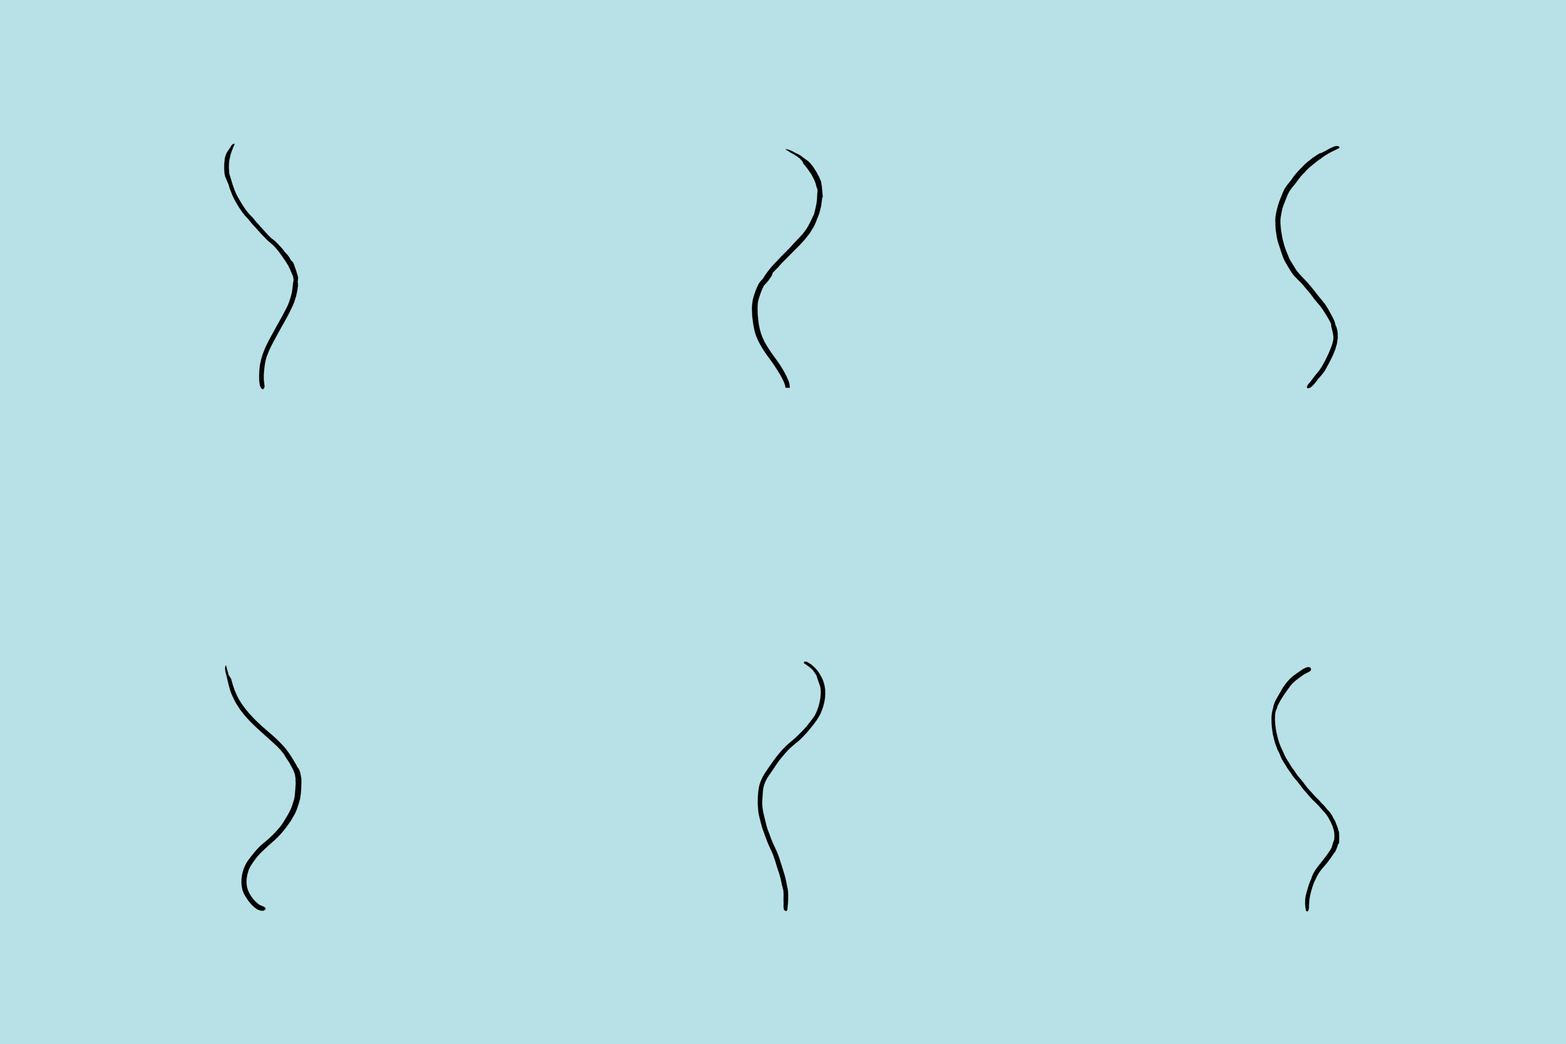
Loops - Wave Principle Static
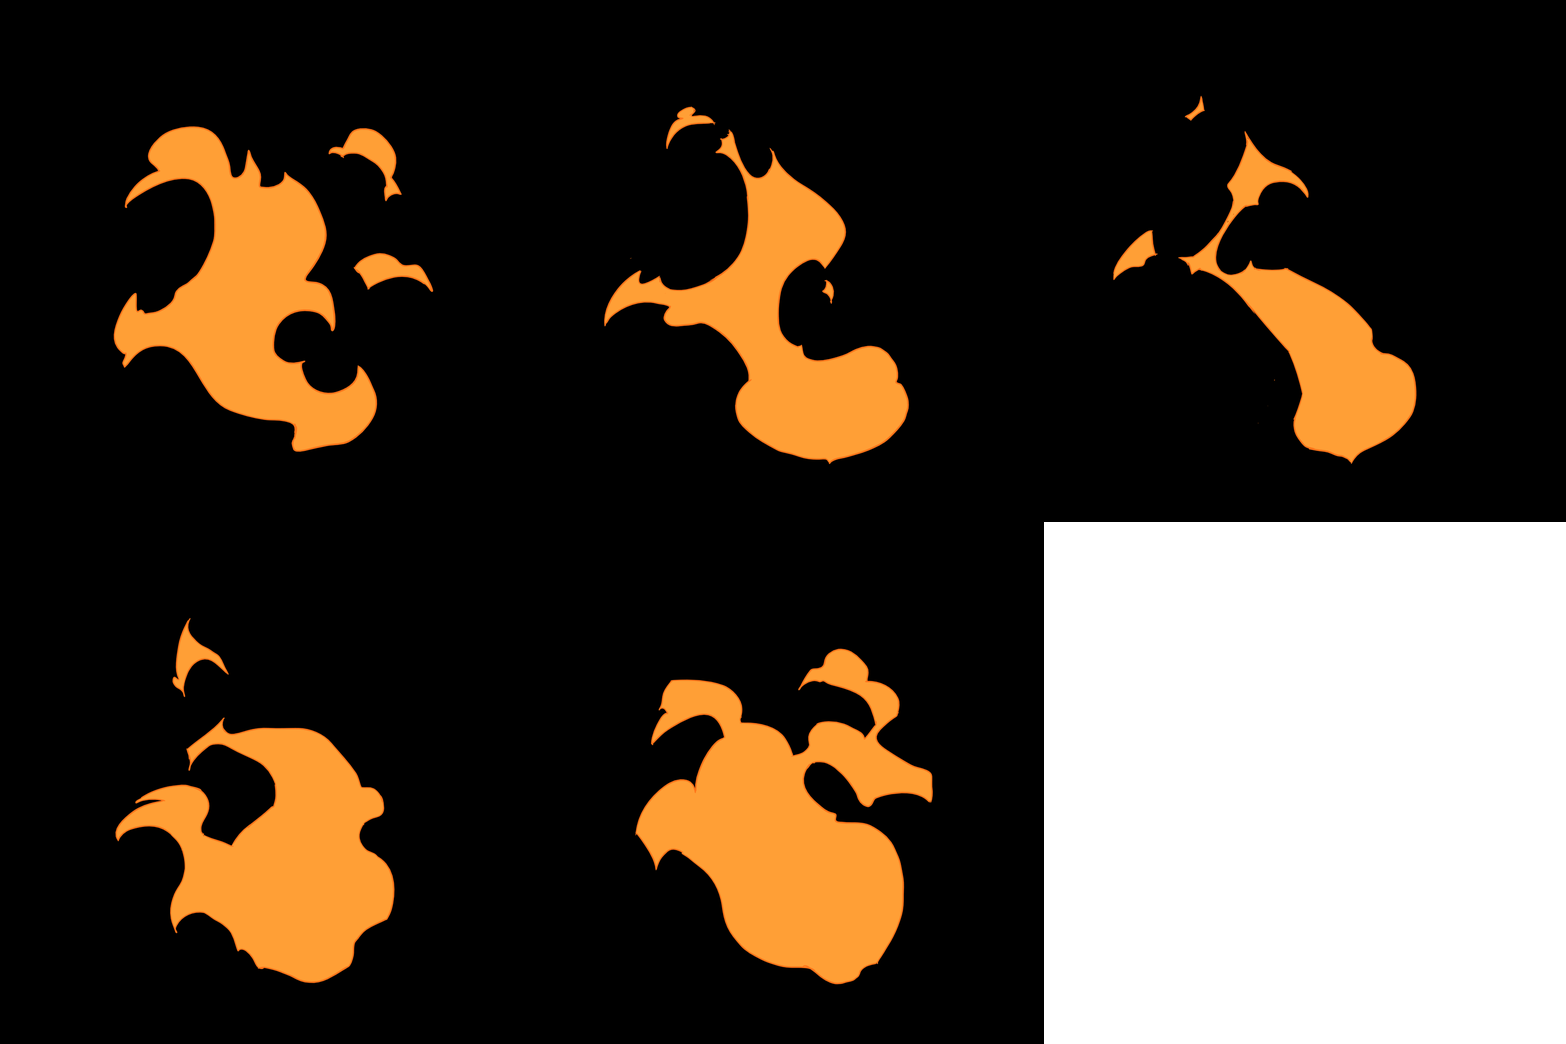
The big takeaway from this copying for the fire was that it is like a metronome going back and forth from the base with the follow-through for the further parts.
The lesson gave more information on follow-through, with a flag/scarf example. Which made me think I should do a 2D hand animated flag animation.
Arcs, something I never use enough was also emphasized. Arcs are important for natural and interesting movement.
The last lesson went over stretching and smears which are used to convey speed and energy. I have very little experience with smears. They are very style dependent and there is not a right or wrong way to create unless there is a set style. I imitated the smears from the lesson. I liked the middle one the best with the ‘ghosted’ section that is predicting the next few frames.
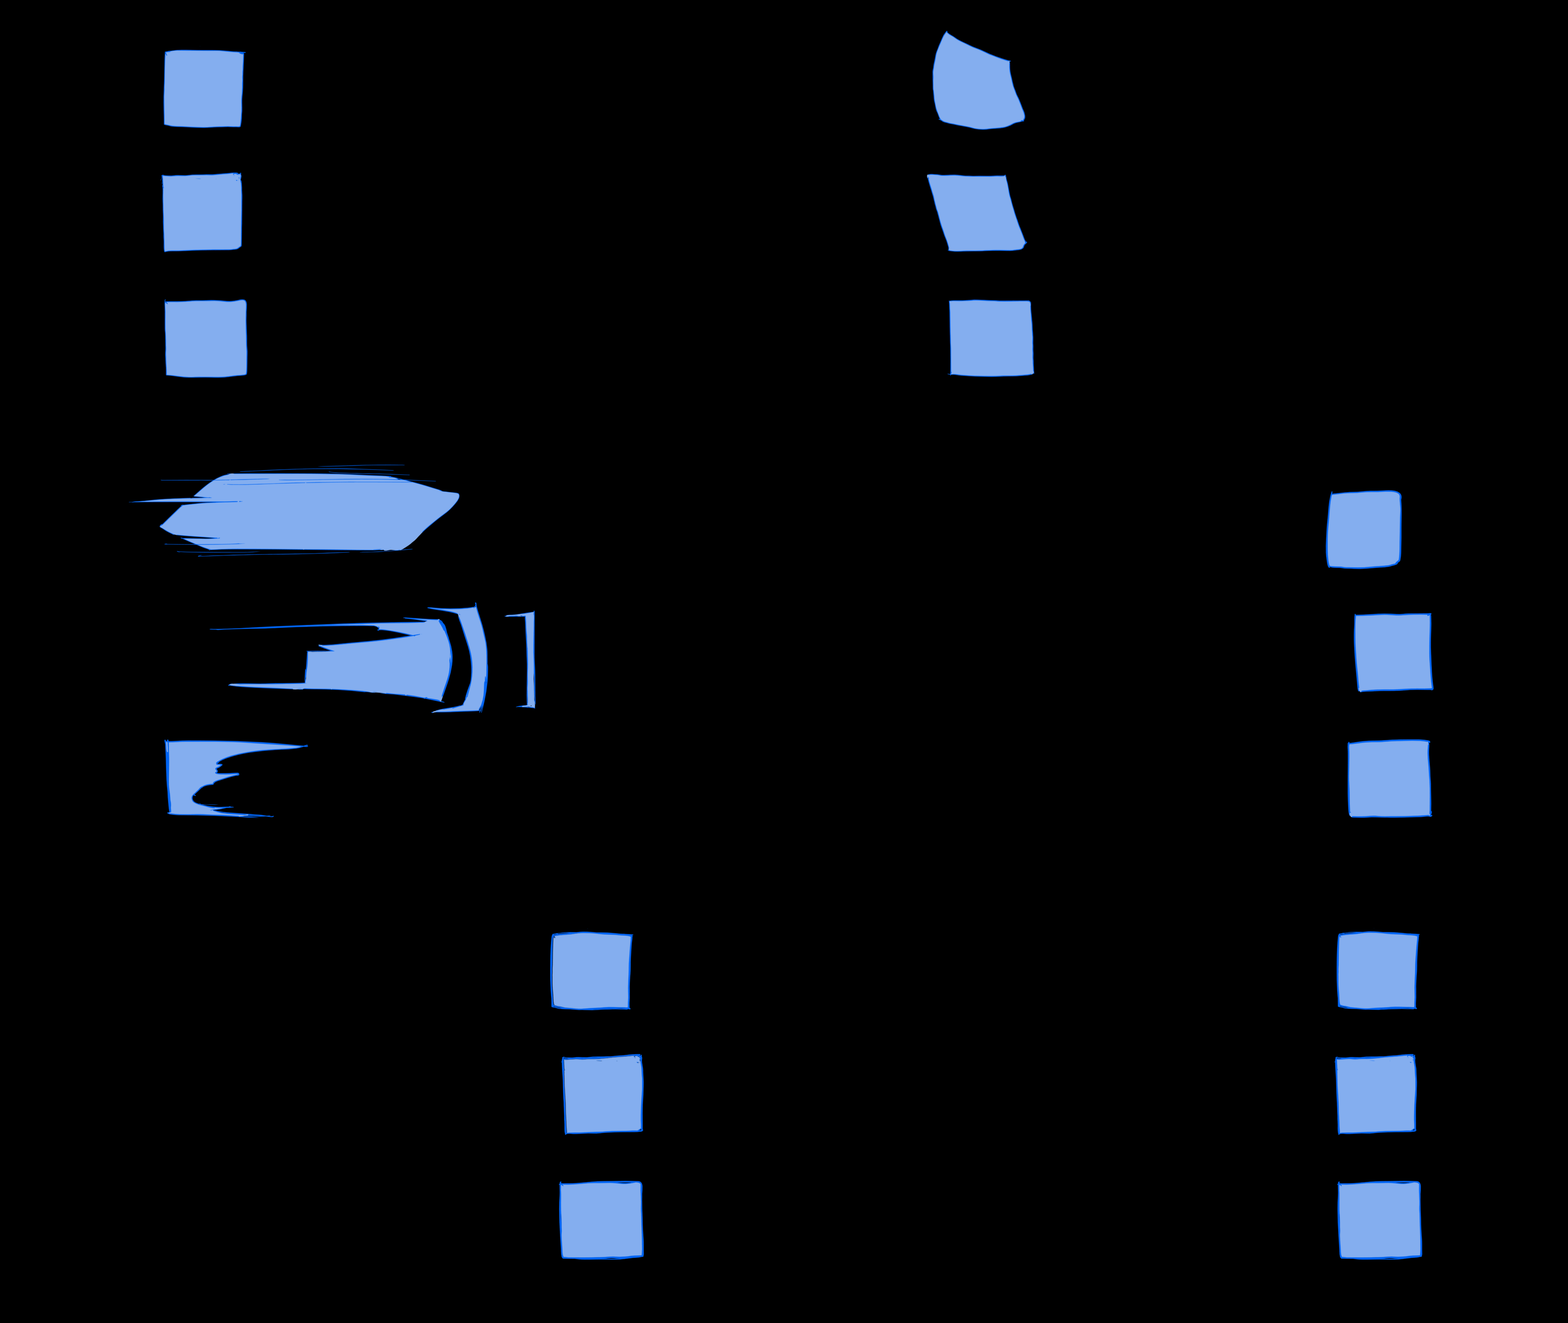
As the week continued I worked through the additional animation exercises. These exercises reviewed some of the principles of animation that are relevant to VFX. For this exercise I created a drawing from a side by side reference in ToonBoom Harmony to get a feel for the timing and understand thee principle by following along. I only made it through the ‘Appearance’ exercises. There are 3 more sections for Disappearance, Loops, and Overlap and Follow through that I will hopefully be able to get back to in the future.

Appearance - Small to Big

Appearance - Pop Up

Appearance - Squash and Stretch

Appearance - Squash and Stretch

Appearance - Small to Big

Appearance - Pop Up
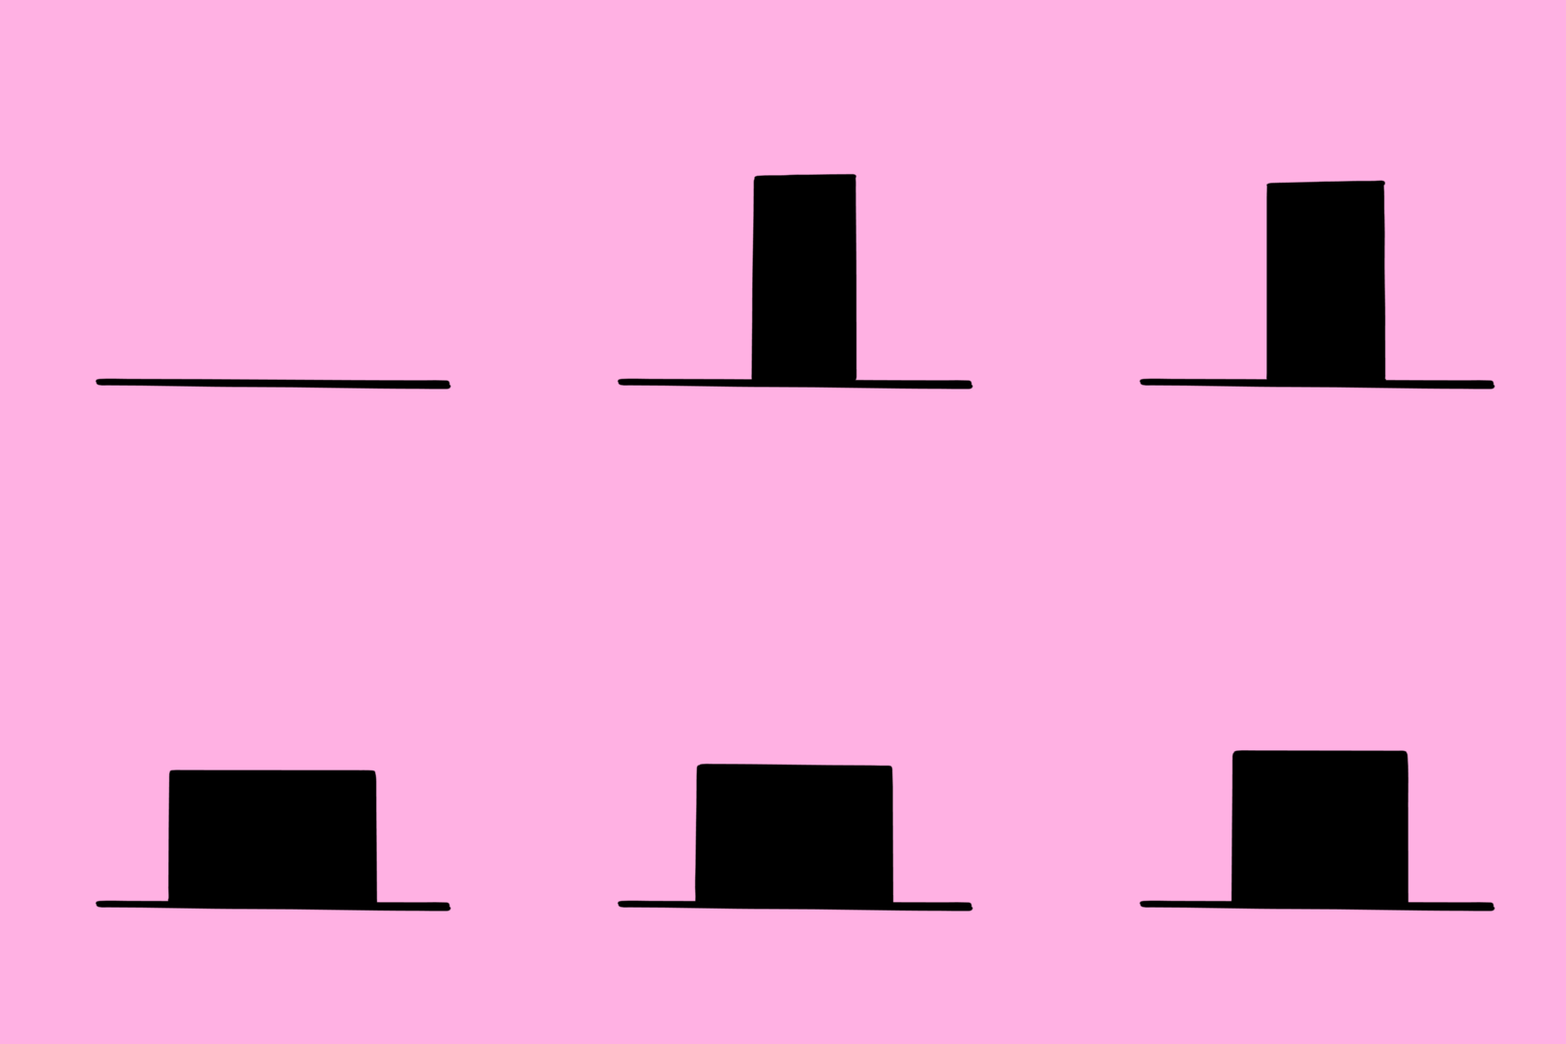
Appearance - Squash and Stretch

Appearance - Squash and Stretch


Loops - Wave Principle Moving
Loops - Offset
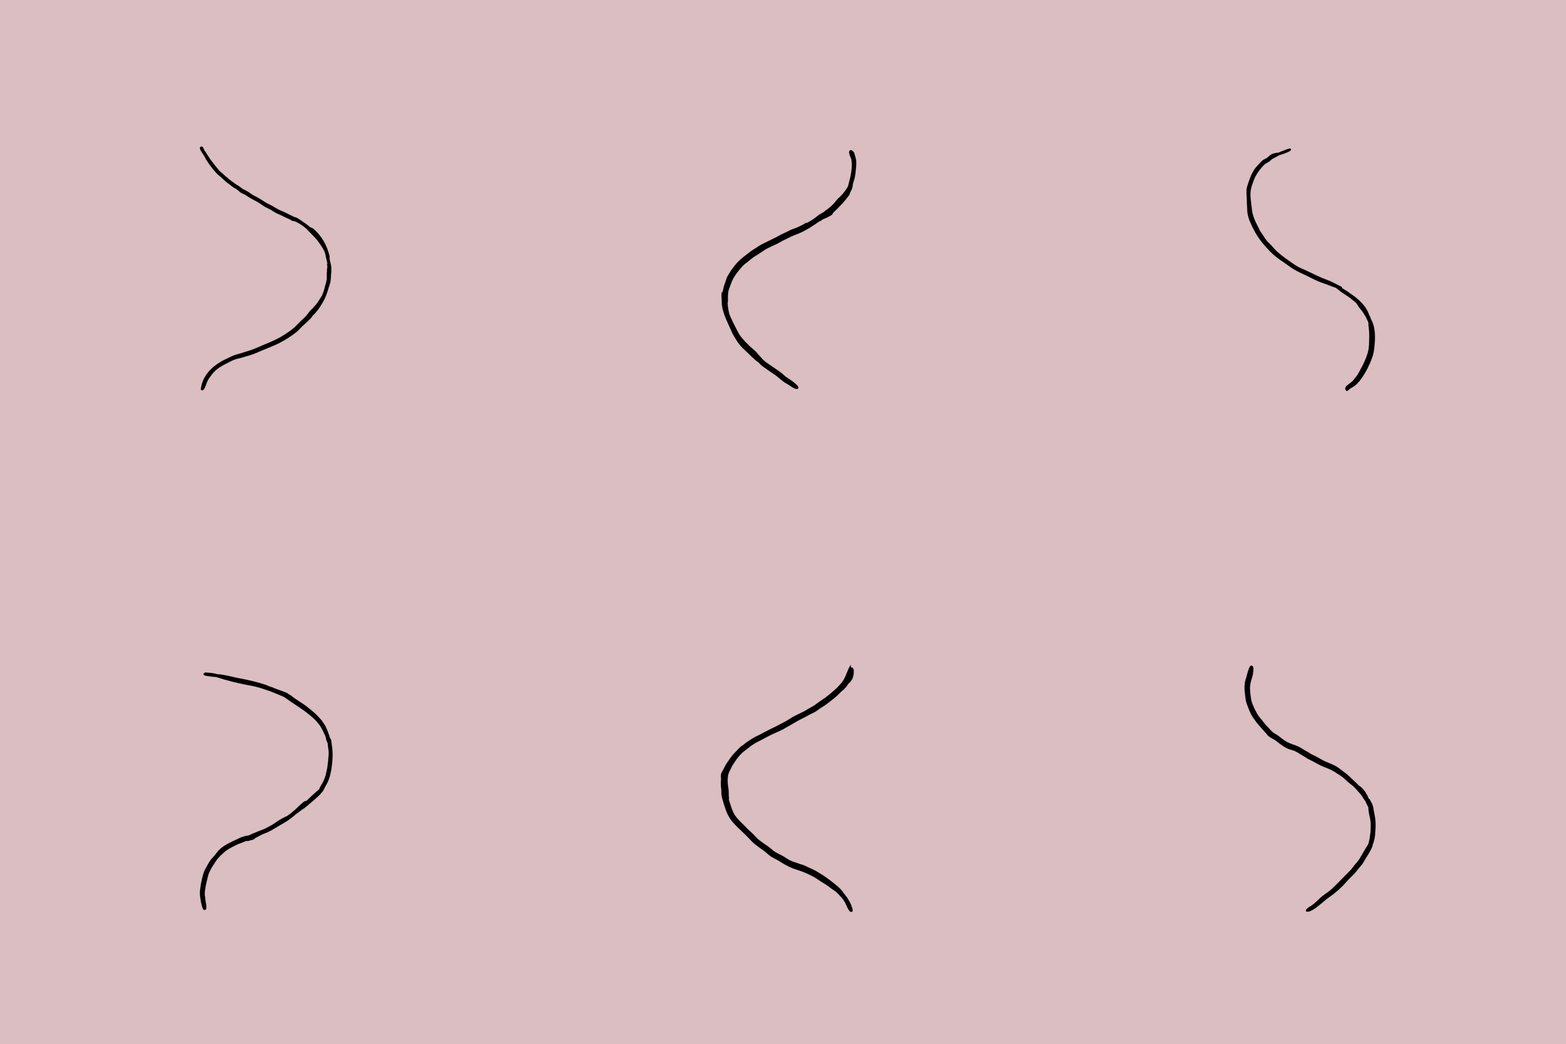
After this post I got feedback from Nibilli - Gabi:
Looking awesome, you have great volumes in your effects and your shapes are striking ! next step should be to push the 3d feel perspective you give in certain effects. try to push this feeling of some parts of the shapes being closer or further to the camera. Its a great skill to have in, the future On the lightning specially, try and create even bolder size differences through the bolt to push your designs even more.
For water to go further, ask yourself where the actual volume of water is. Water will end up in bubble like pockets of water, so determining a bit of that can create nice extra volume in your shapes ^^
He specified during the Friday meeting that since I have strong drawing skills he wants to encourage me to draw with 3D space in mind. I plan to give another day of looking for lightning reference and more voluminous water. I still don’t quite feel strong enough without reference to tackle any of these FX. Or, to be more specific, I don’t like the shapes I come up when I am drawing from my head as much as when I draw inspired by or following reference.
Day 4
Expanded my references and sketch attempts to more 3d forms per the notes/advice. I tried to mix between: 1. sticking close to references for study, 2. mixing together several references to make a more unique image, and 3. making some sketches from my head / scratch. I also tried to think about how I would setup planes or 3D shapes in a game engine. I’m still not happy with the final images of the drawings, perhaps because of the limitations with my skill in ink, but I can see improvement just in a few days. I'm getting faster at the very least and building up a big reference library.
Day 5
I didn’t have as much time but I tried some of the exercises on the Line-of-Action website. With 30 seconds I was rushed to finish the drawings. I didn’t put in as much time into the studies but continued to add references to my VFX reference library.
Day 6
I tried combining different things we practiced like lightning, water, fire, and the flower with ideas for attacks so that I could try to think about more layering and 3D. I used some reference for these as a starting point but the end result for all of them turned out very differently from the inspirations because I am definitely finding shapes I like for certain elements. Reflecting back on all the practice I think drawing 100 ellipses and circles probably helped the most even if that exercise was one of my least favorite.
I submitted this final image for feedback. I said that the most successful was putting together more references and libraries and the weakest was that I was leaning into reference and I can’t draw from my head. Nibilli - Gabi’s feedback included that he also cannot create entirely from head and has a bunch of reference. He said he can draw ground cracks, lightning, and clouds from memory but still needs a ton of reference to draw fire, water, and smoke.
The pieces are cool and tons of good ideas. Keeping the red lines is helpful. Some of them like the war hammer fire person in the top center has good layering. This is the idea you want to push so you have done a good job addressing feedback.
The top left image is also framed and layered really well. This is a good system. This piece would be missing a ‘pedestal’ or something under this shape to help ground it. A shock wave perhaps.
The bottom left has a lovely petal shape. Beams like this are fun to make and easy to implement and can be quite cool. You would need to work on that start, though. The spike thing doesn’t quite work and the circle doesn’t have enough depth. Give the front part more thickness and the back part less thickness. This is nit picking cause this all looks great. The lightning could be tweaked a bit more to be visually interesting.
Bottom/middle right this large flats surface looks good, layered well, and is all framed by smoke. This also has good contrast. It is good to have the hashing to increase clarity. And you did a good job not to have too many dotted details. This little zap/saw blade is a bit too confusing. Otherwise keeping the detail keeps the focus on the design still rather than the extra little details.
For little details you want them to be discard-able enough.
Overall good feedback and I appreciated the detailed notes. I will strive to put in work at a higher level to get higher level feedback.
Week 3
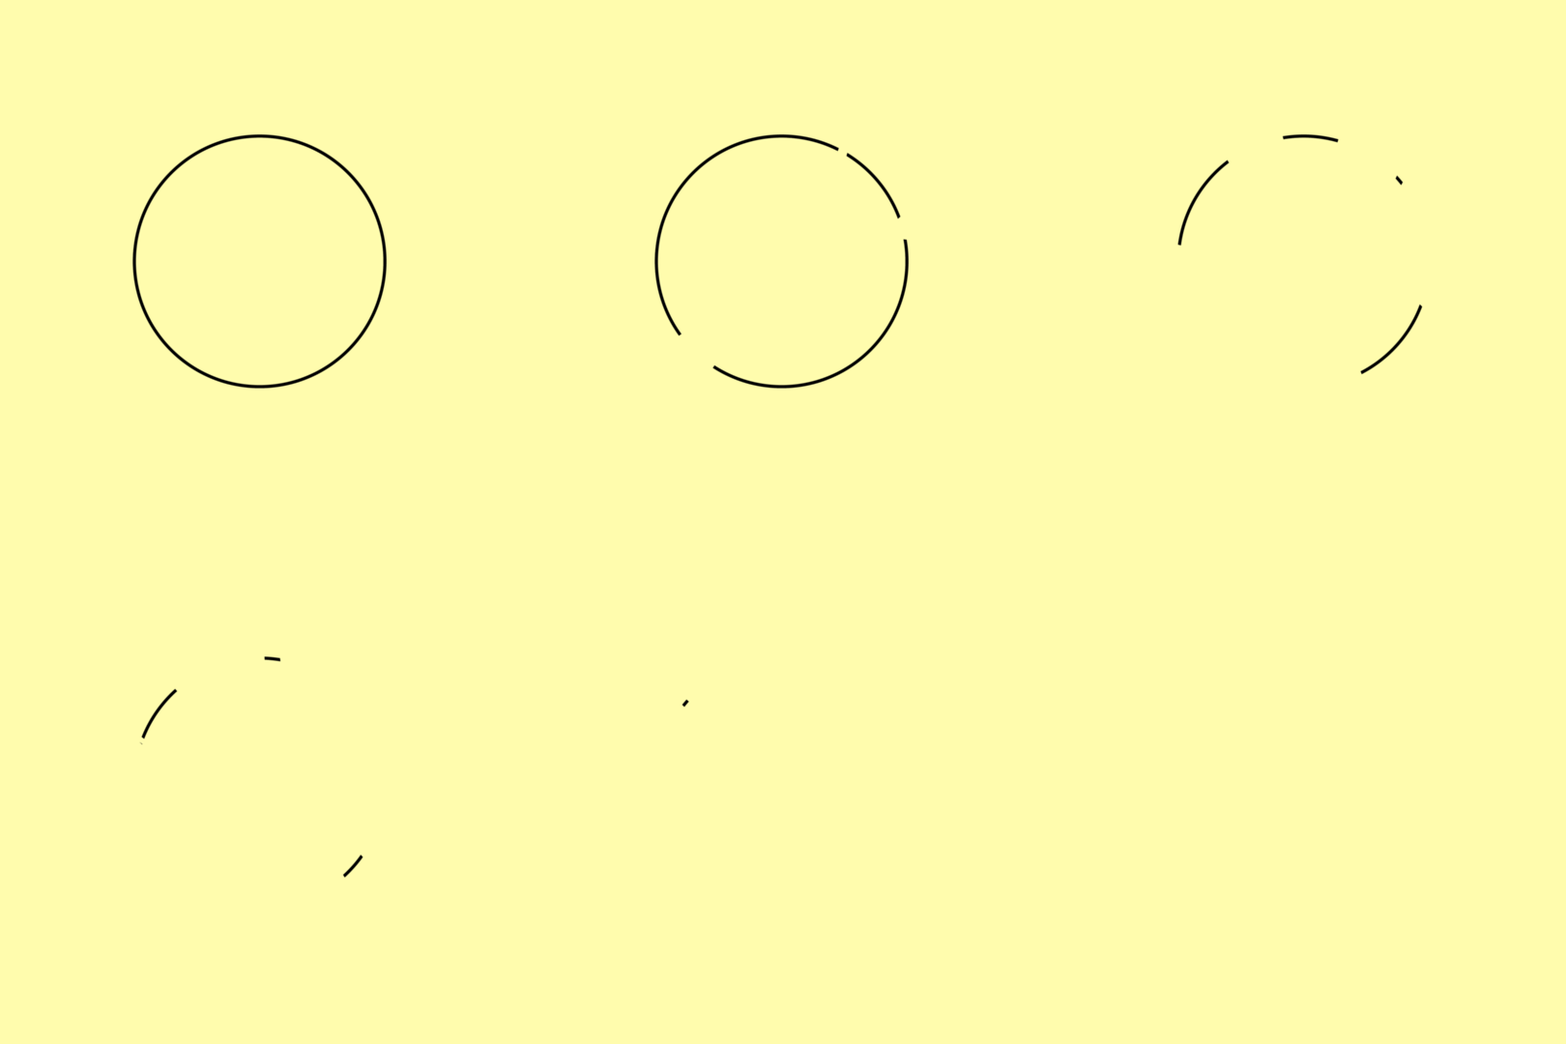
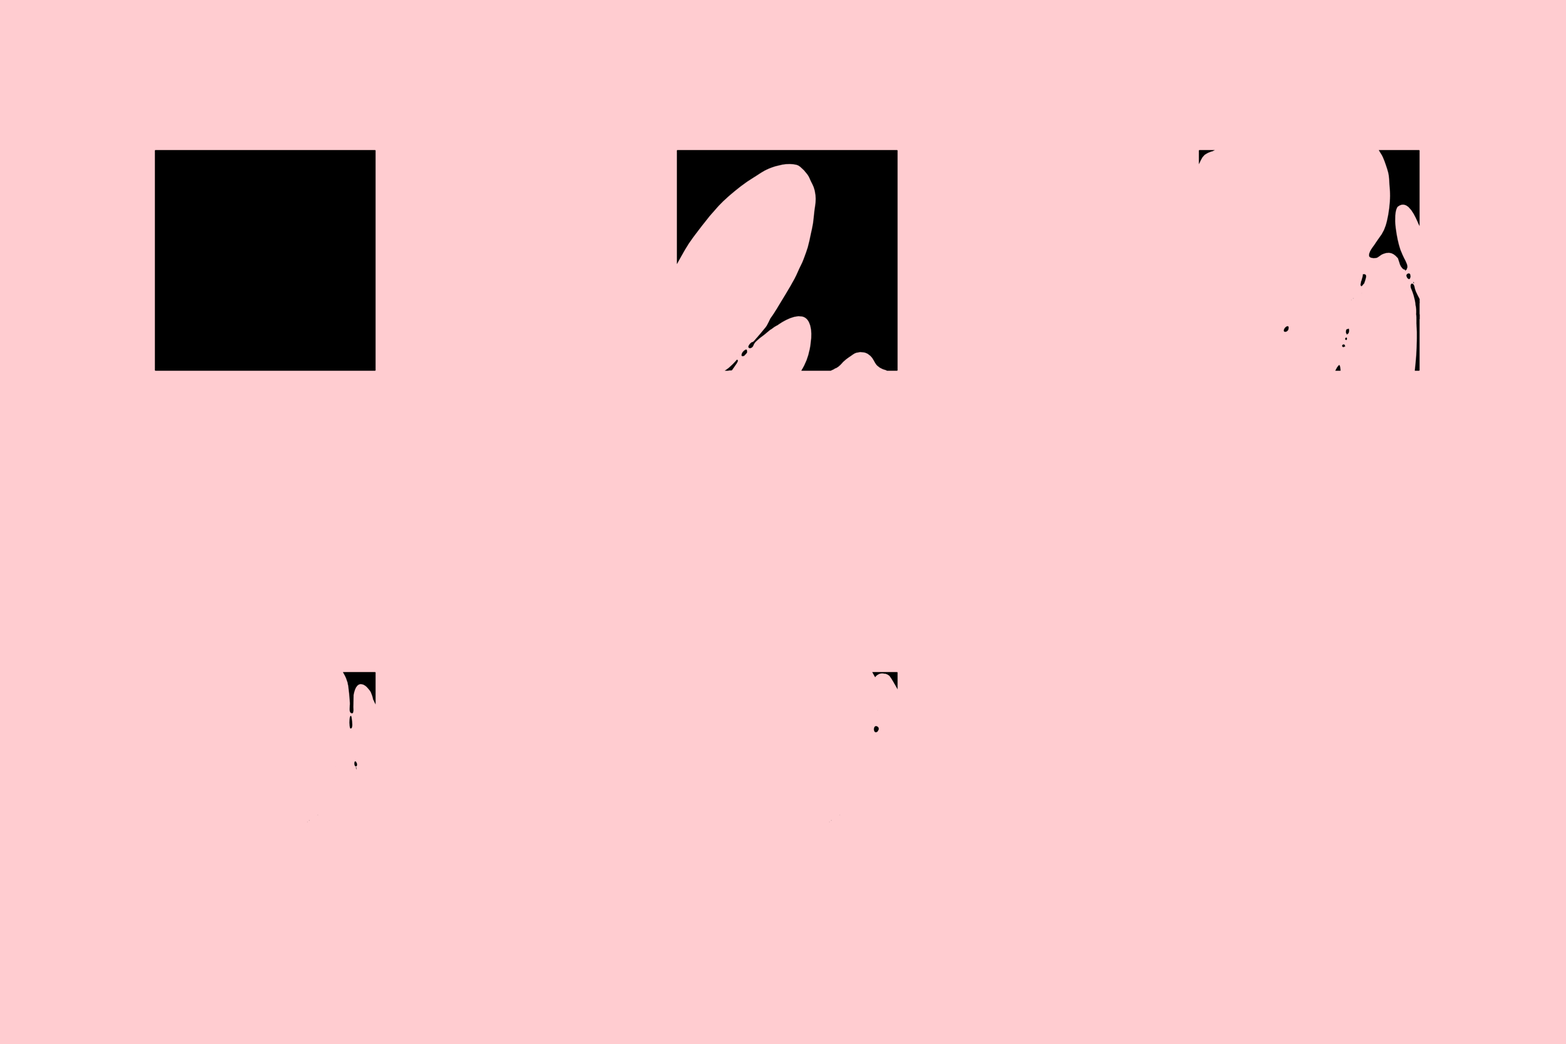
This week we were tasked with either following along to the animation videos or concept art videos. It is my goal to finish both. I started off the week back tracking to Week 1 to finish the animation videos I hadn’t completed. After finishing disappearance and going to small I moved to the more complex looping animations. I appreciated the circles moving setup that we used for the string wave motion because I have always struggled with the animation and now have a base setup to at least get the basics. While most of these lessons were follow along I still tried to do clean work as I imagine I could have a very brief section of a 2D vfx demo reel that features these exercises

Disappearance - Breaking Into Pieces 2

Disappearance - Going to Small 2
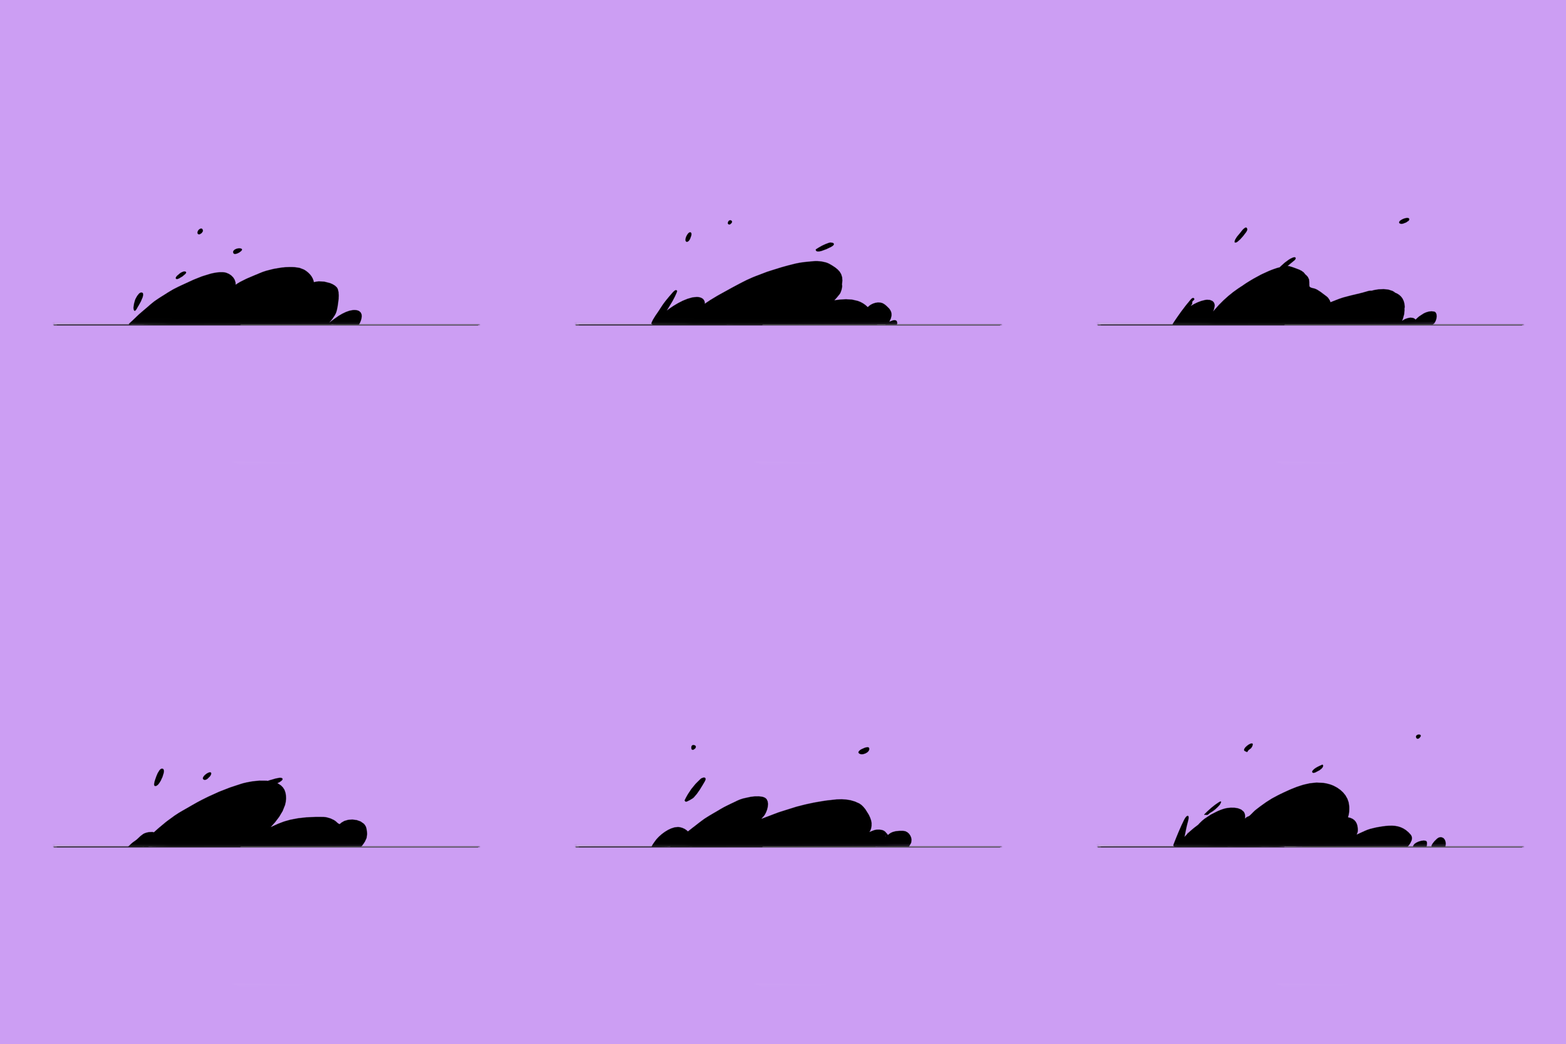

Disappearance - Breaking Into Pieces 3

Disappearance - Going to Small 3

Loops - Offset
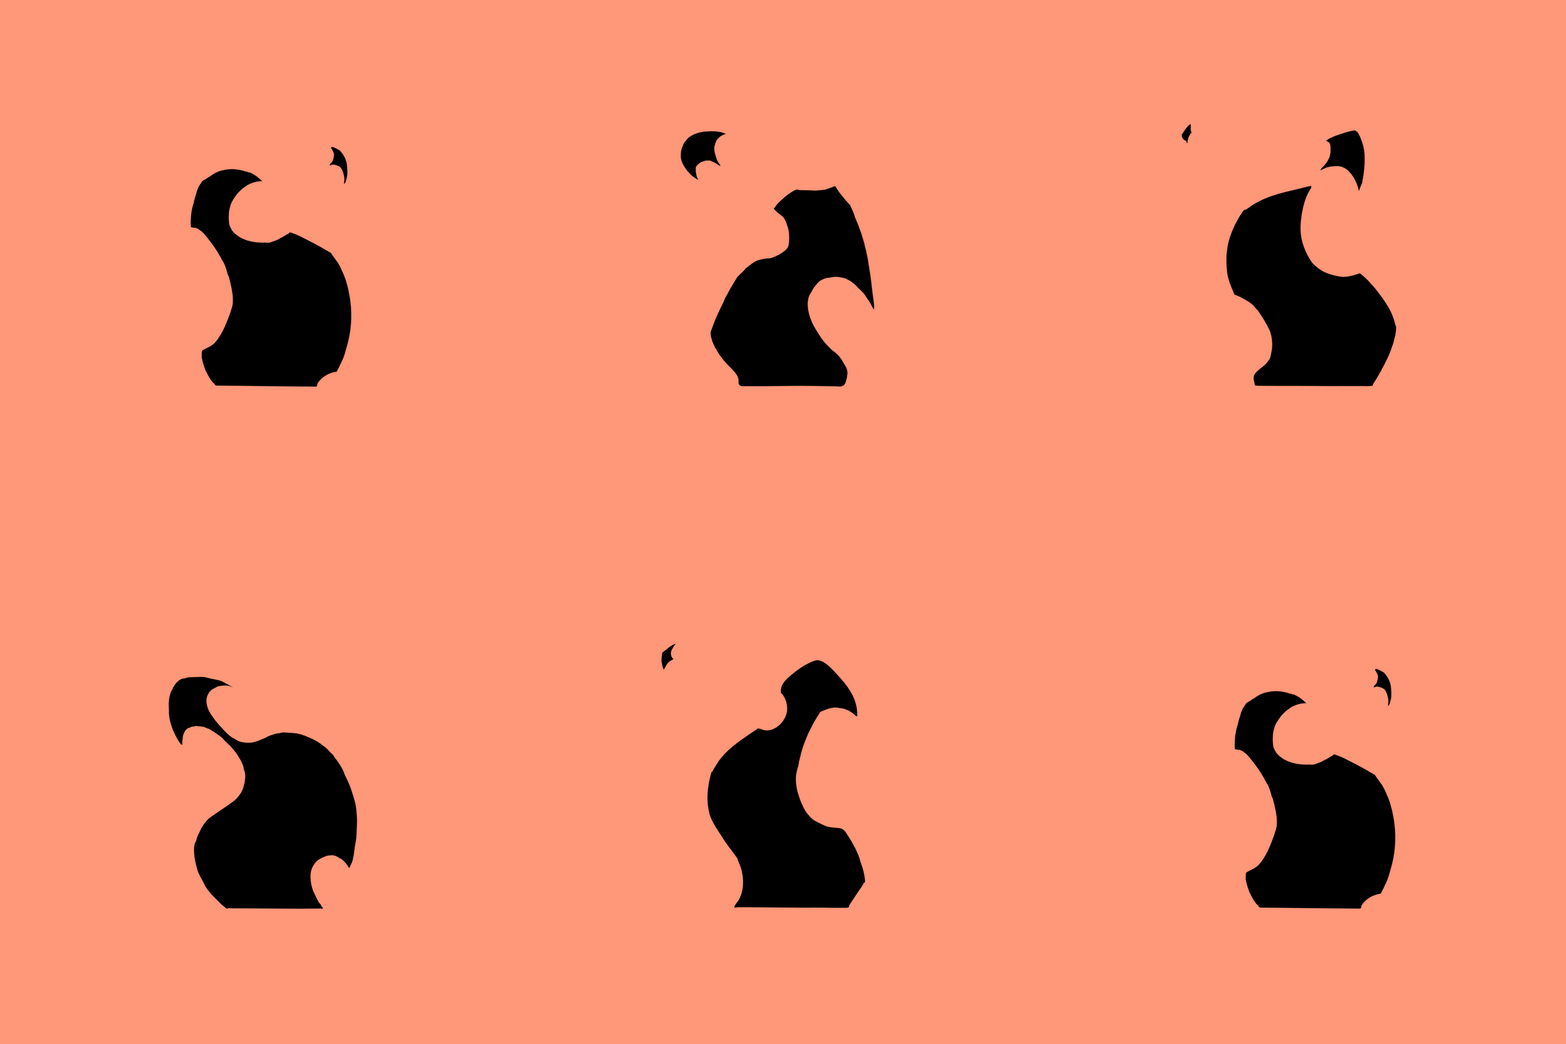
Loops - Linear Keys
The last two animation exercises on follow through and overlap were longer and more challenging. After I completed those exercises I tried to animate some lightning.


Loops - Overlapping action and follow through.
For the final submission I found some wonderful reference for a looping lightning gif by Hun Young Ha: https://www.artstation.com/artwork/zDwLm4
First, I tried to make my own lightning shapes but the general flow and timing is fairly close to the reference. I didn’t like how similar my animation looked so I made a second animation that used some of the things I learned from the first time and combined that with other reference and a few of my own ideas. Originally I struggled with the composite. I was fighting with creating an alpha mask or exporting from Harmony but eventually I just color graded my video export and used a luma matte which fixed a lot of the white edge issues.
Lighting Study
Lighting Experiment
I submitted the experiment for feedback. Nibilli - Gabi said this was above what was expected but mentioned that I did all do all the previous lessons. They said there were things that worked and things that didn’t work with clear pitfalls. The clockwork motion works well. Hearing this made me happy because I didn’t have any concrete reference for the clockwork but I’ve seen enough anime to know it was going to look cool. The donut shape is cool. There are several individual cool ideas.
The 3D is good sometimes but other times the animation doesn’t care as much about it.
At frame 17 the initial lightning that comes down loses its follow through. Nibilli said there is no reason to shrink the entrance. Give those initial lightning strikes enough time to envelope the sphere and slowly become the center point.
Have the sphere grow slower.
Play around with sound and tempo so there is more time for beats.
For the second light flash add one little frame of a squiggly lighting to force the eye to look in the right place.
I appreciated the notes a lot. They were super helpful.
Week 4

Lightning
Week four started out with interesting concepts and principles to remember for designing VFX. Some of these are similar to design foundation principles and Gestalt principles.
Keep awareness of the Big, Medium, and Small or BMS. Vary in the positive and the negative spaces.
Asymmetry is an important concept as symmetrical VFX are less visually appealing.
Thick and thin applies to symmetry but pushes the idea to grow interest and build negative space. It can also be lines and weights similar to illustration principles. Thicker lines on the bottom and thinner lines on the top has visual appeal. Some games have all one line weight and that is ok to keep things simple but it isn’t as aesthetic.
Depth and representing depth is something you want to be aware of while making concept art. This is important for grounding effects in 3D space.
The Wave Principle includes knowledge that as an object is moving side to side there is an ease in and an ease out on the direction changes. So a strand of hair blowing in the wind will be slower on the outside of the direction change of the arc and faster in the middle of the motion. Pay attention to the anchor position of the wave or hair and also pay attention to the length of your line for free flowing waves. Magic can be more flexible in length but tangible objects need to maintain their length. Pay attention to the direction of the invisible force and remember that the distance between frames determines the speed. Longer arcs feel less turbulent.
After watching the introductory videos the assignment included a choice of 2D animation of concept art. I created three 2D animations.

Dust
Gabi’s feedback:
Overall try to exaggerate the effects so they have more time to live. Your smoke looks great ,but the two others are a bit too fast and stiff. Sure they are close to how they would happen in real life, but that can also be a bit boring. Allow yourself a bit of flare, of exaggeration. Have an impact frame or two before the pot shatters down, make it sensational. Same for like lightning, give it some remain of static electricity on the ground perhaps or some scorch mark?
I also updated the animation for the lightning and addressed some of the notes.
Week 5
Week five was the final week before classes started. I was not able to accomplish as much. I had previously done these tutorials. I added a few extra colors to make the final submissions a bit prettier.